How To Join Back On Stage As A Musician
So, the leader of Mute Project has sent you an invitation to join Back On Stage.
First of all, welcome to the community! We are a small team of passionate band leaders, musicians, and music industry professionals. We're excited to help you get started on our all-in-one platform for live music businesses.
In this video, we'll cover how to set up your account, invoice and payment details, accept gig offers, find booking details, sync your Google Calendar, and use setlists. Let's get started!
Accept Your Invitation
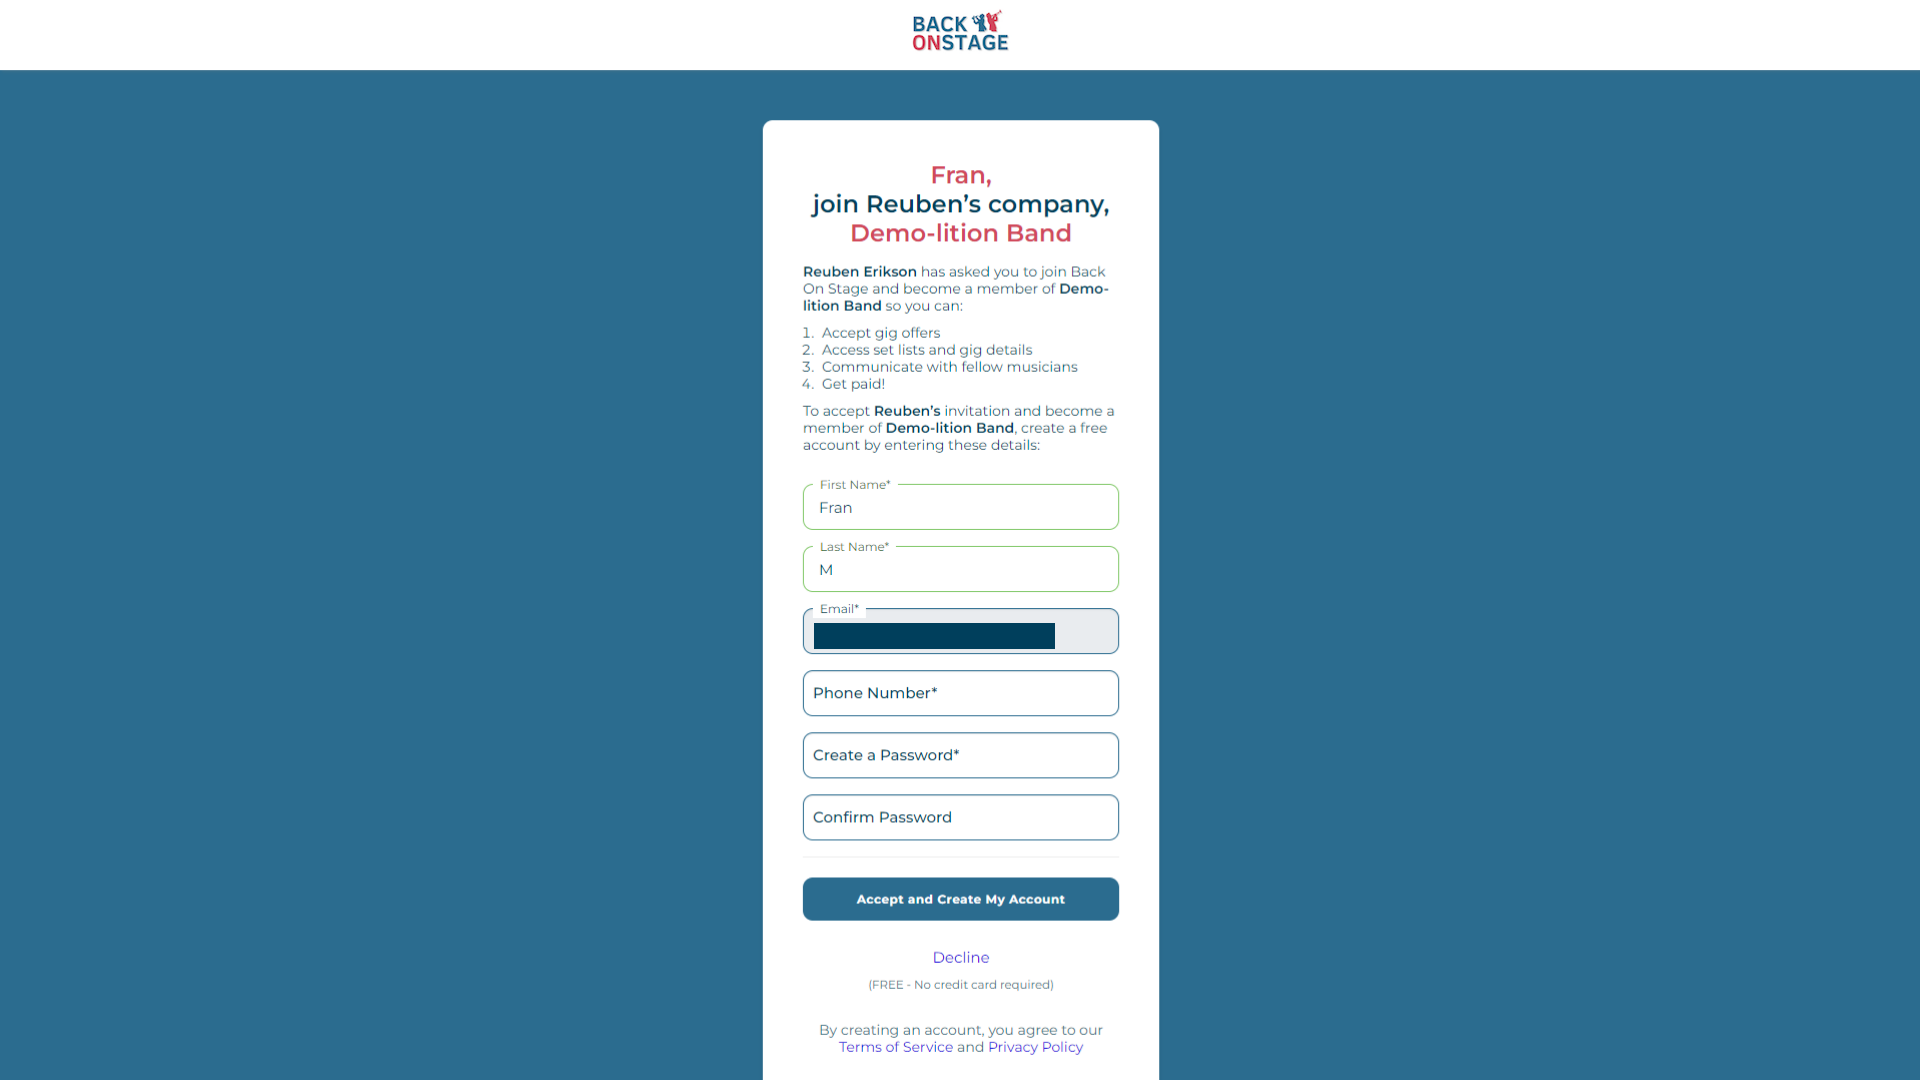
Your bandleader will have sent you an invitation to join their music company inside Back On Stage. Inside the email, just tap on the "CLICK HERE" link to set up your free account and start accepting gig offers right away. Fill in your information on the first form and follow the prompts to complete your account setup.

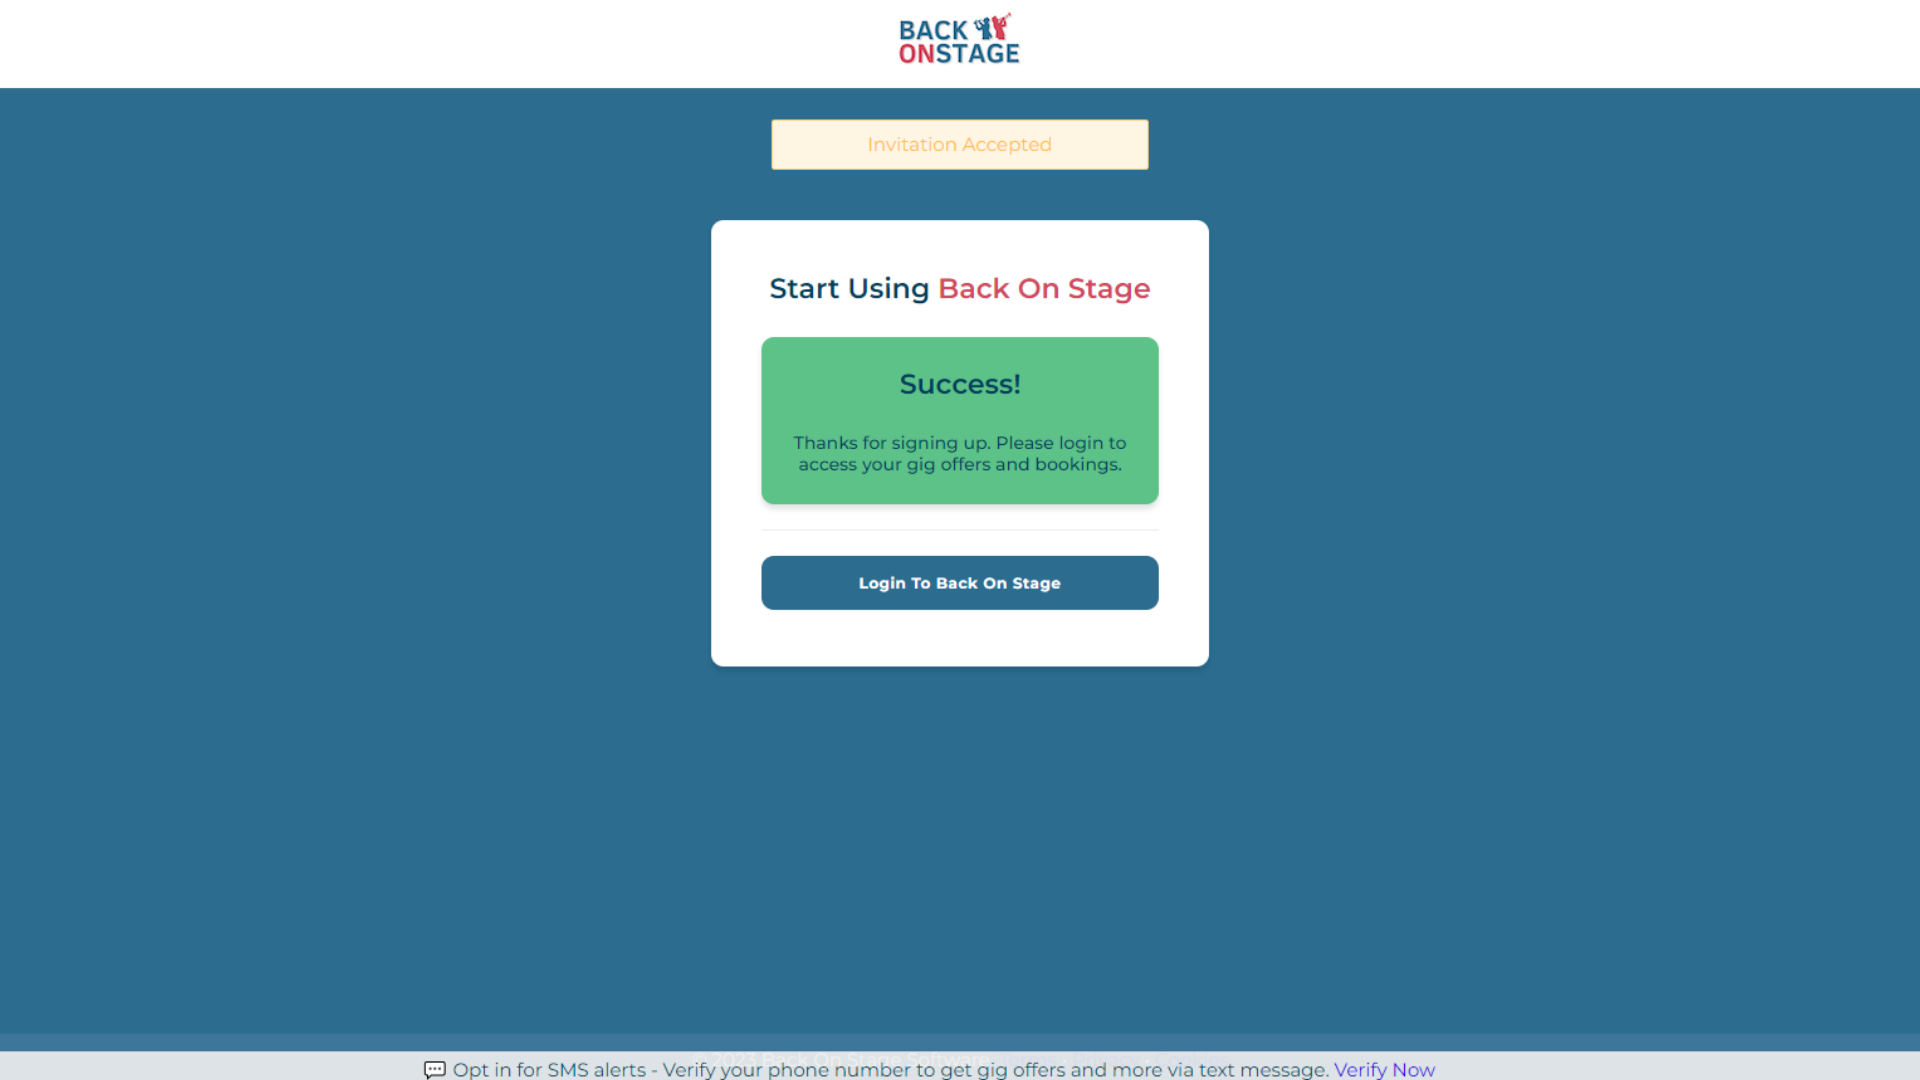
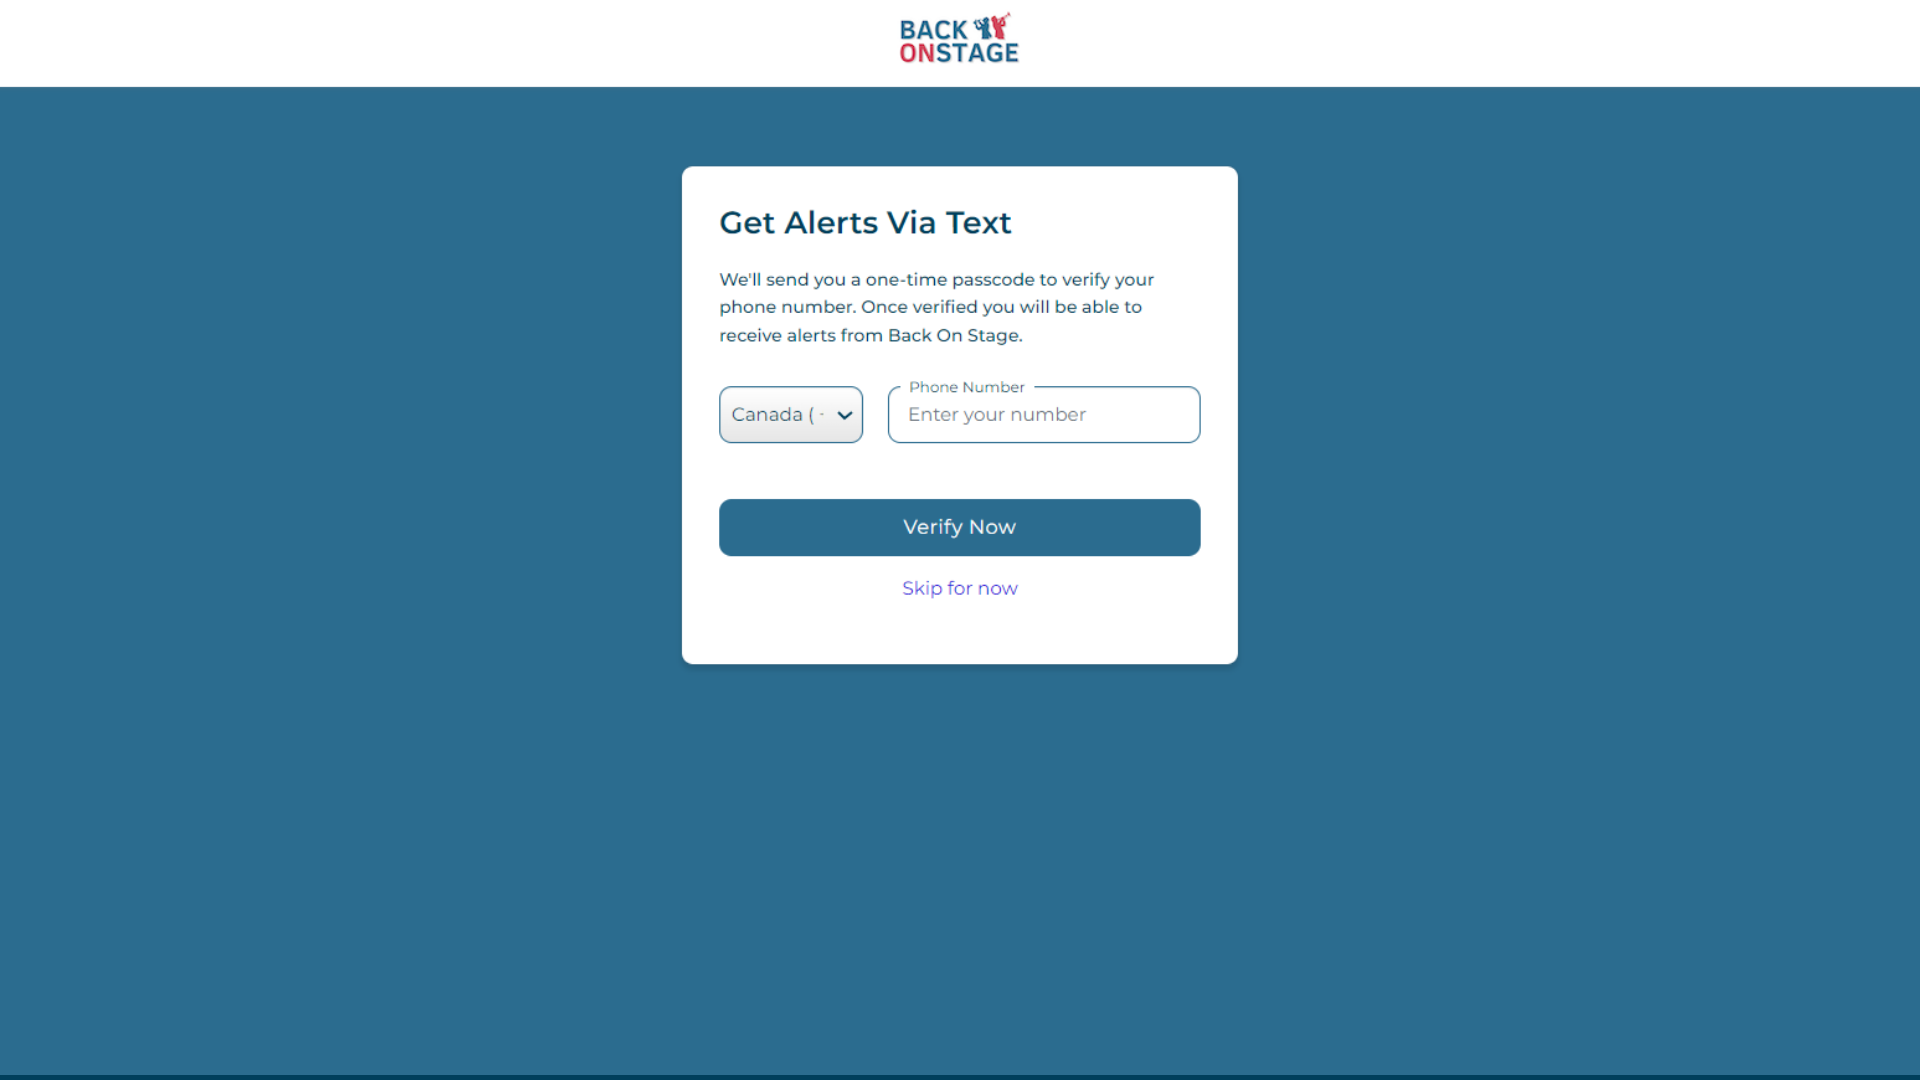
To help protect your account and ensure you receive important notifications like gig offers and payment alerts, please verify your phone number. Once you've completed your profile, you're ready to start using Back On Stage.
Get Set to Get Paid
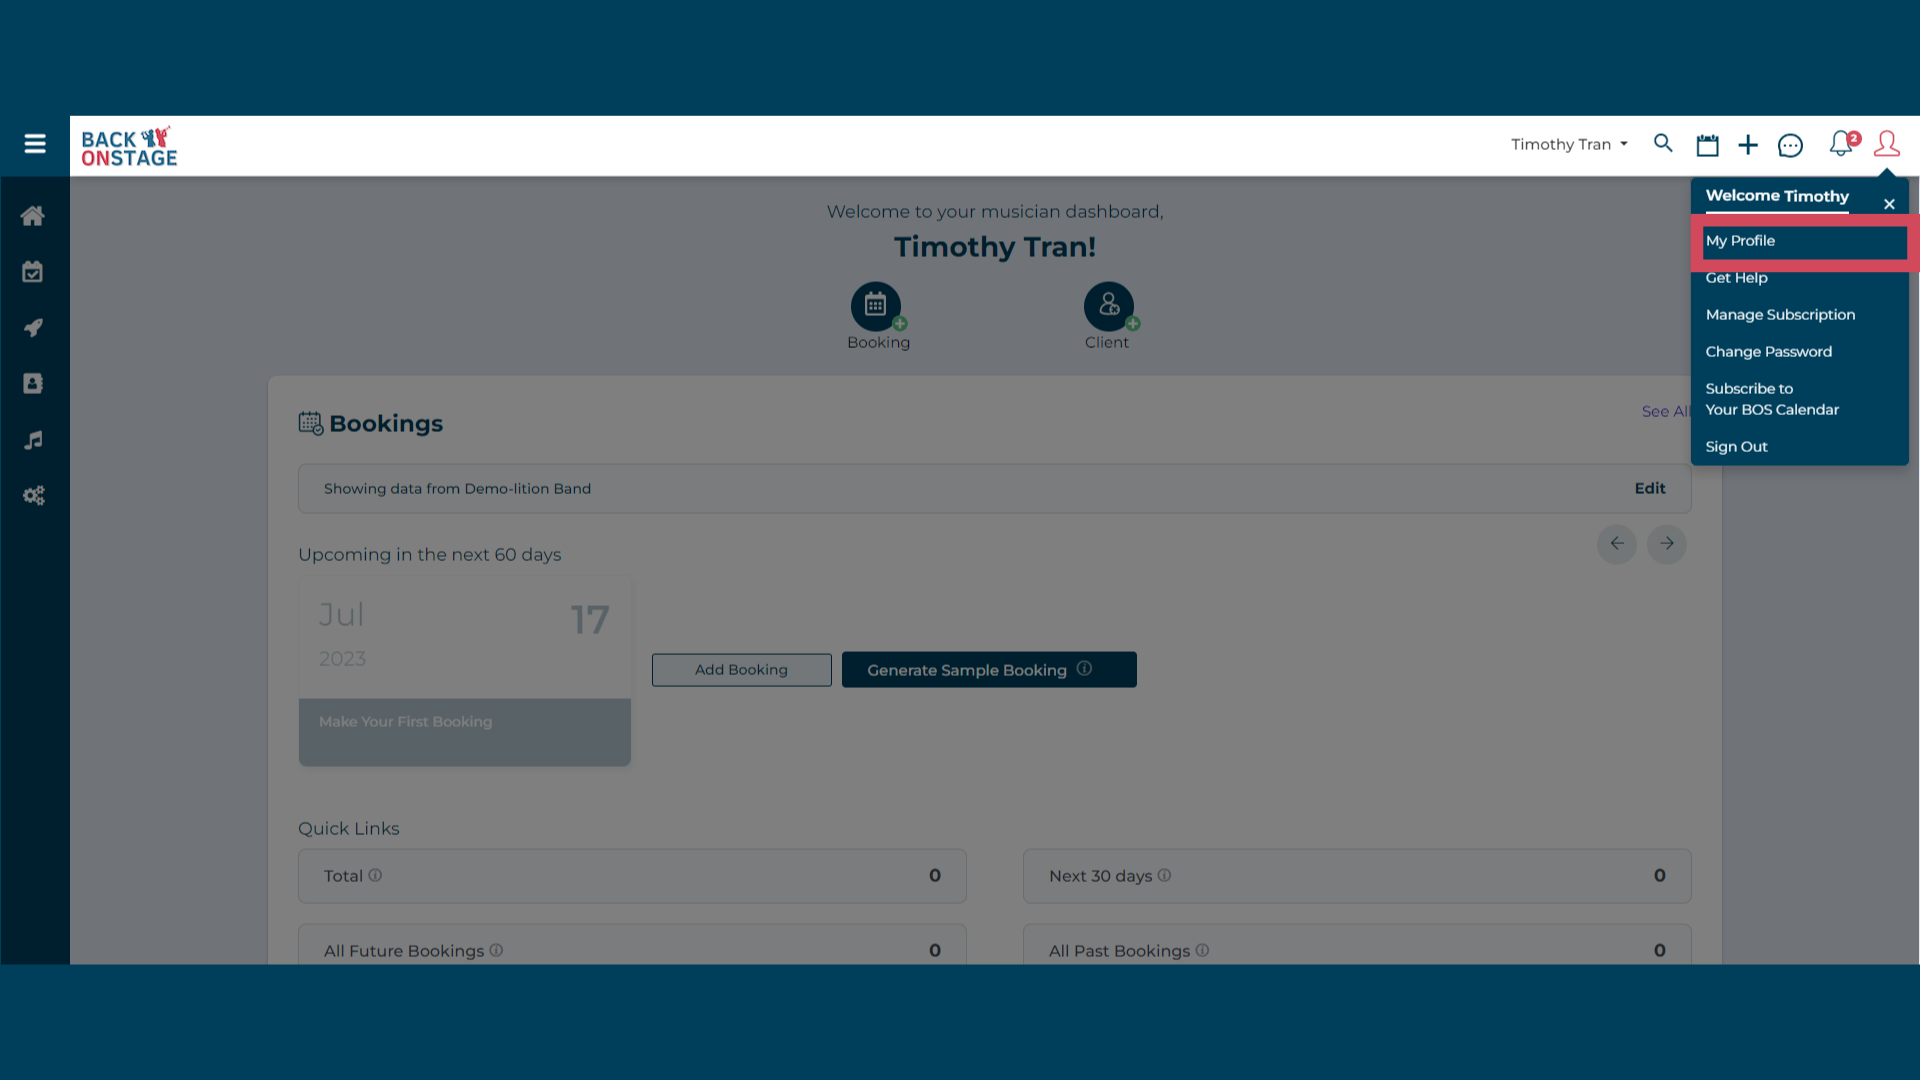
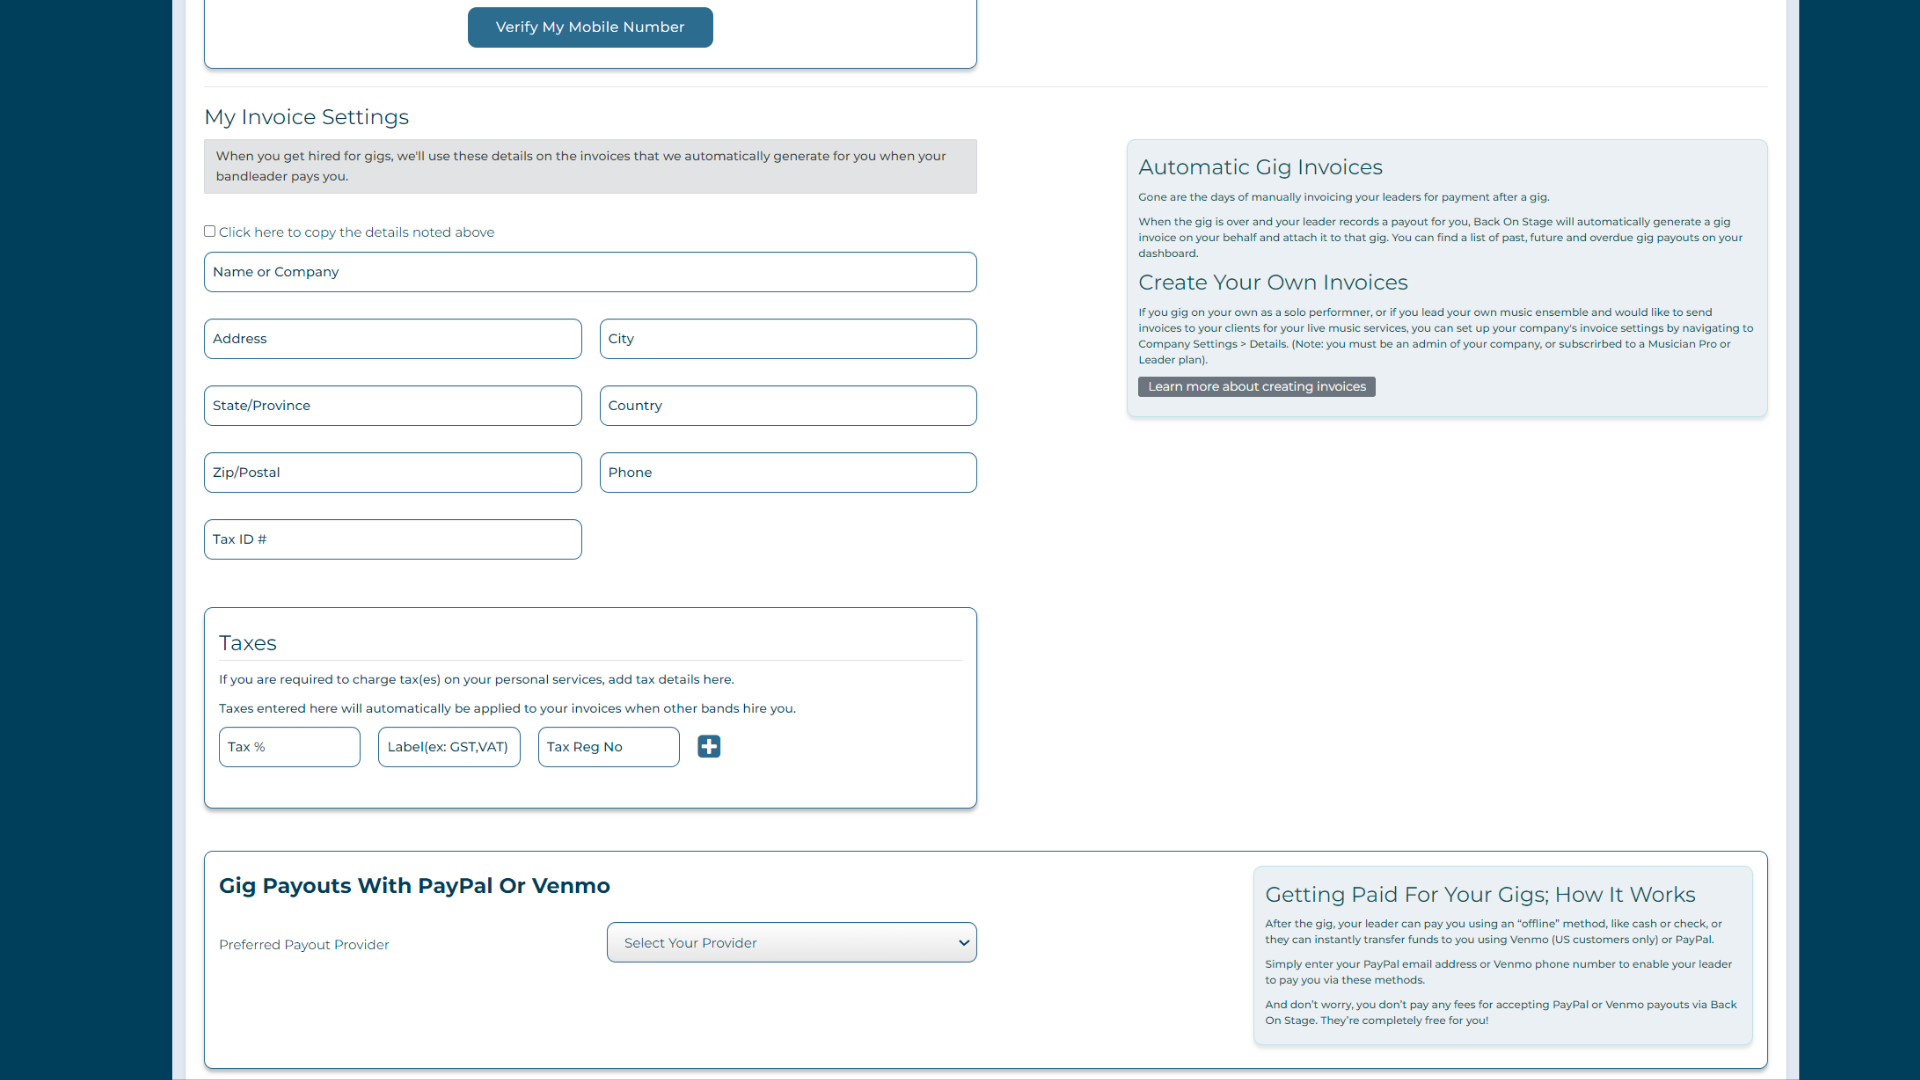
To receive payouts, click on the profile icon in the top-right corner of your account and select "My Profile". Scroll down to the bottom to see "My Invoice Settings" and fill them in with the way you'd like your invoices to appear when they're generated for your leaders. These settings are only applied to the invoices auto-generated for you by Back On Stage.
If you'd like to bill clients outside of Back On Stage, you'll need to sign up for a Musician Pro account to create invoices and contracts within your own profile.
In the taxes section, fill out the form if you're required to charge taxes on your services. Back On Stage will automatically add your tax amount (e.g. 5%) to the booking, so if your band leader promised you $100 for an event, you'll receive an extra $5 when they pay you.
Choose your preferred payout method. Back On Stage offers payment integrations with PayPal and Venmo. Note that you won't have to pay any fees to receive money through PayPal. We recommend using these options as they're free and you'll get paid faster. (Note that leaders do pay a small US $0.25 fee to send a payout).
How To Accept Gigs
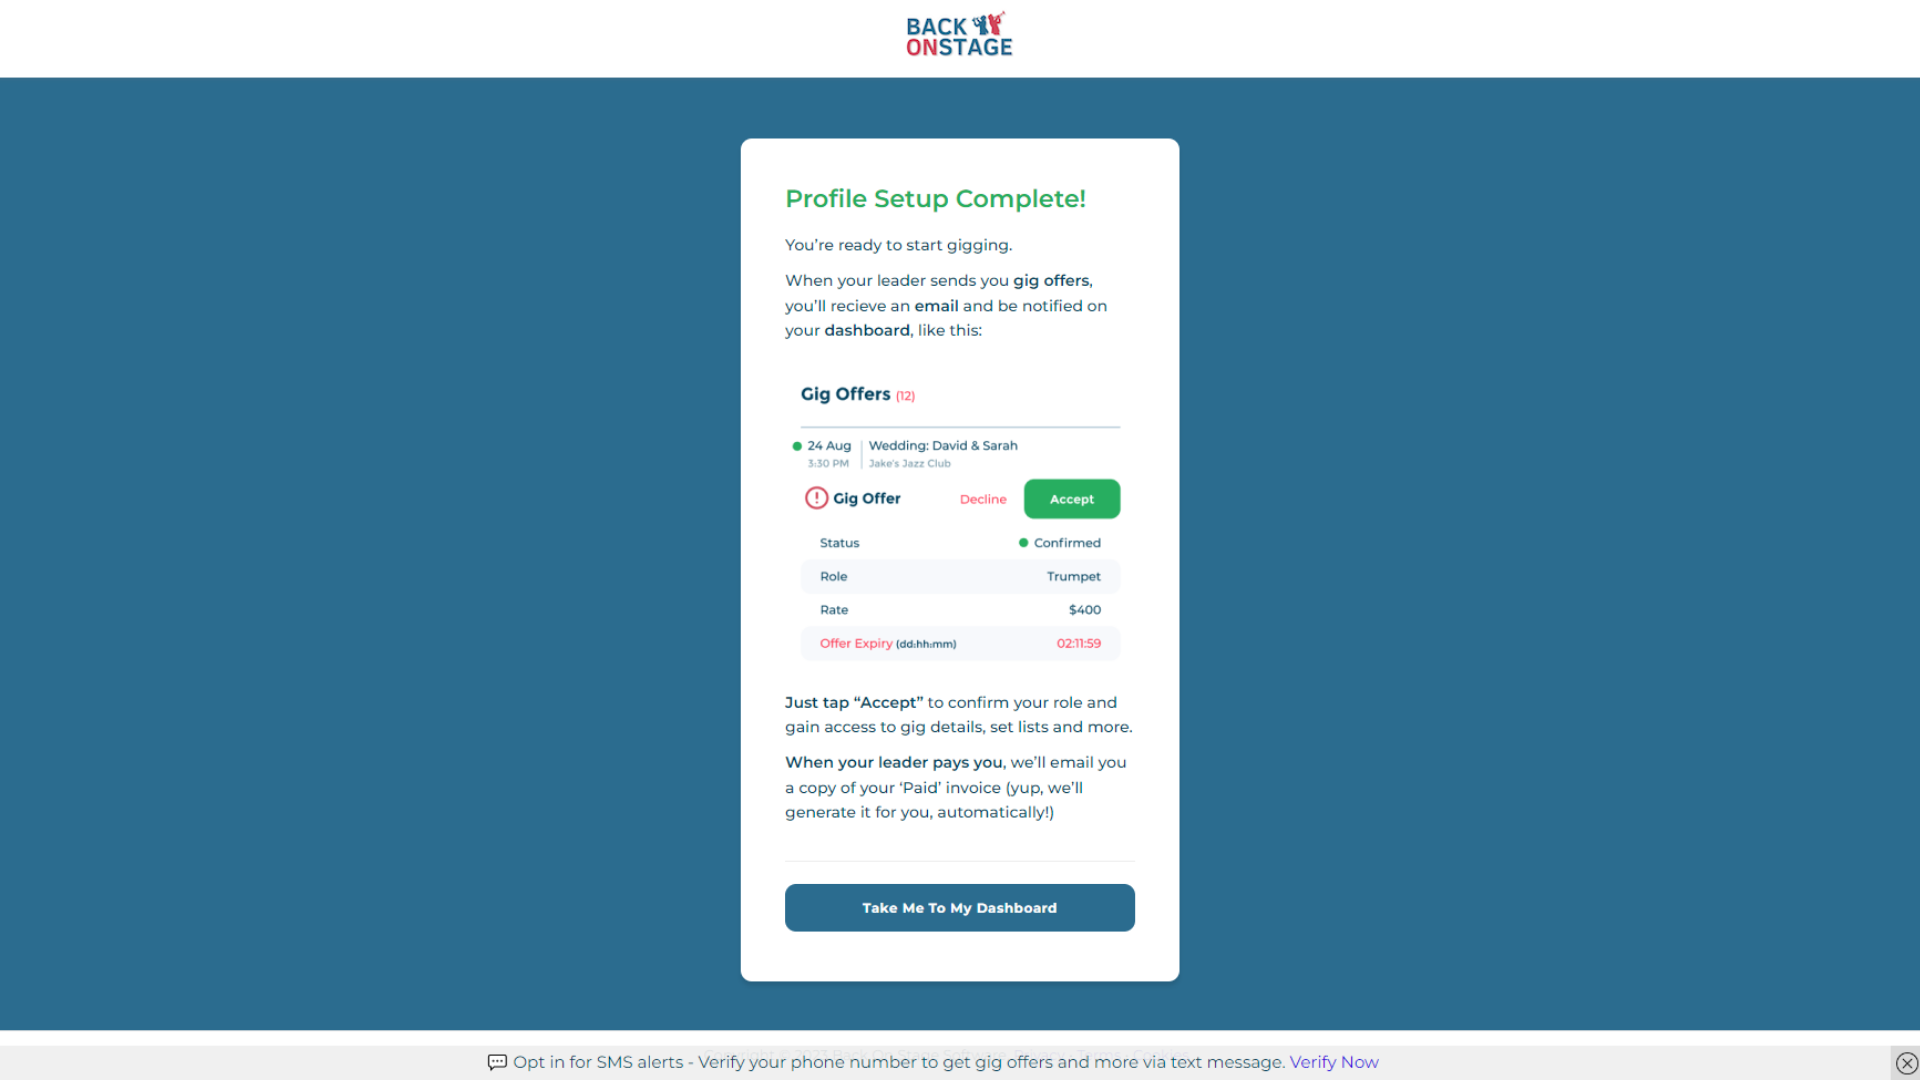
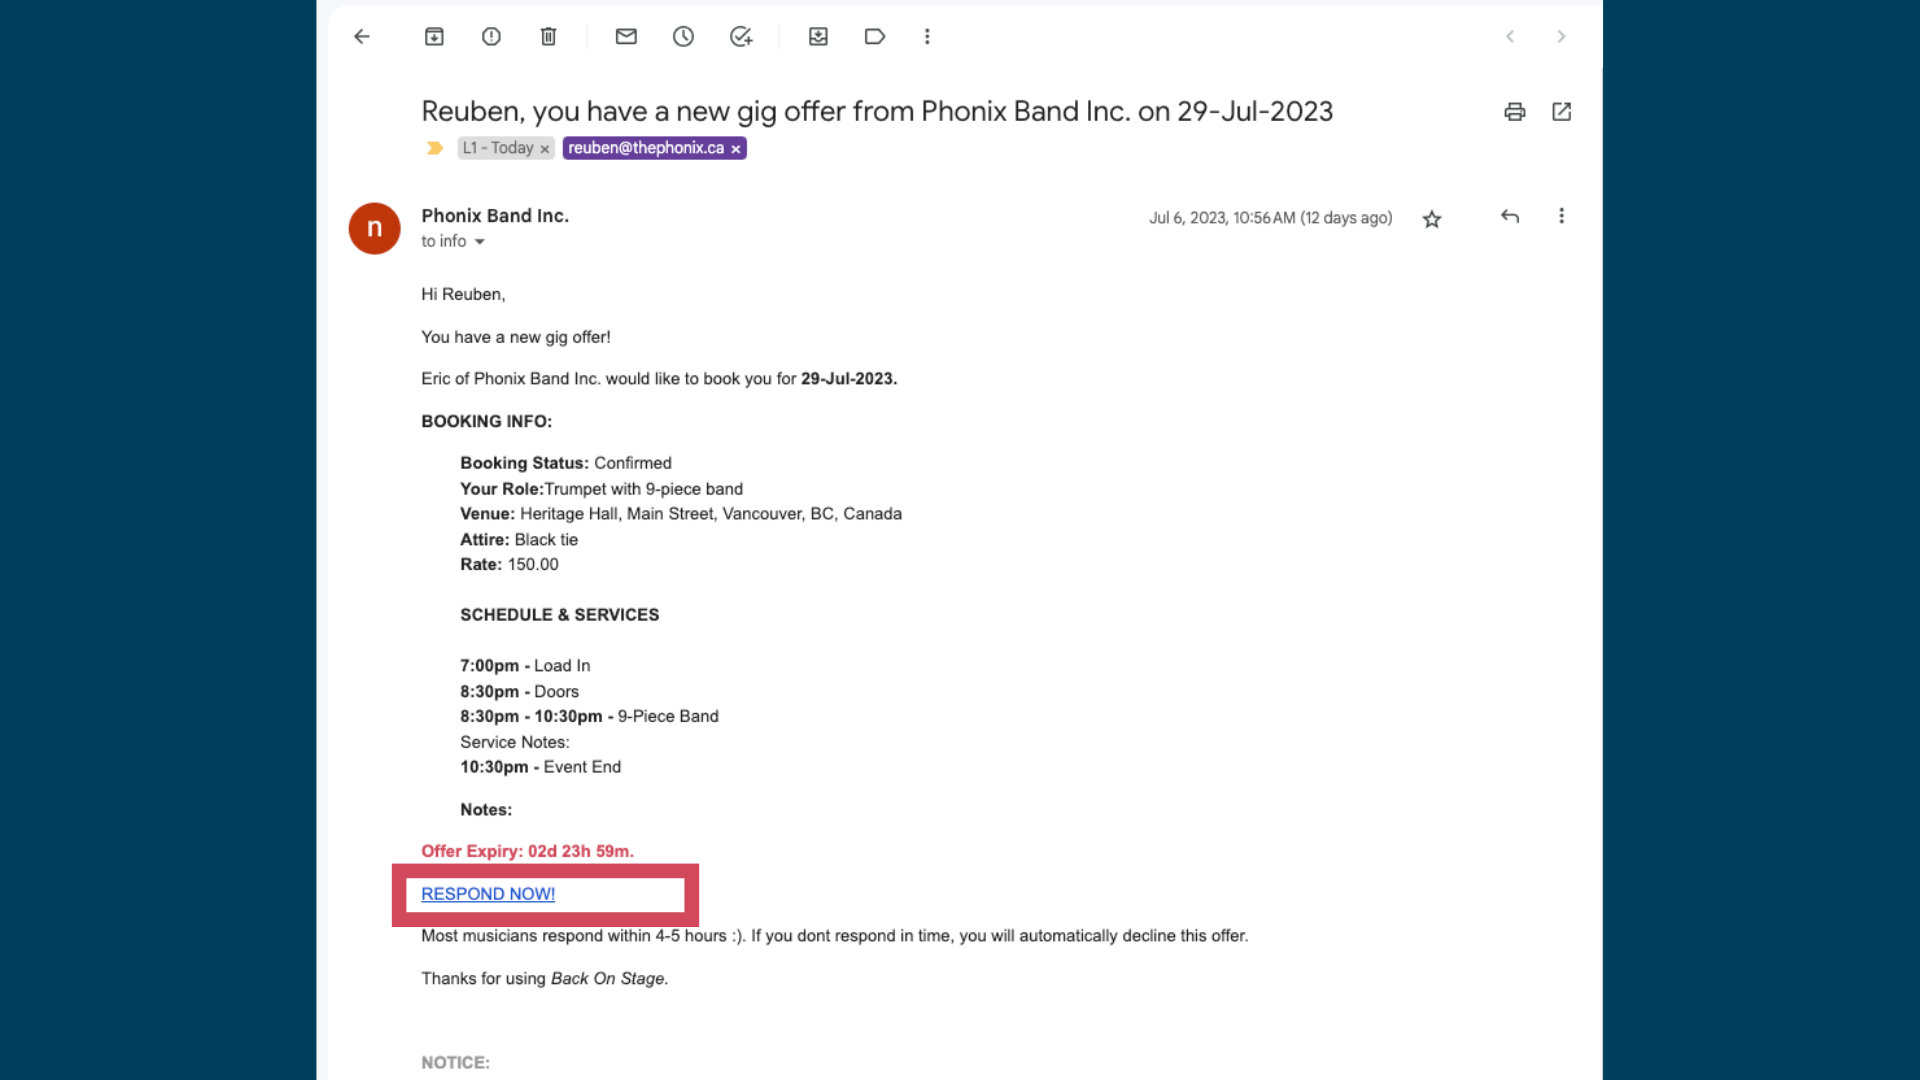
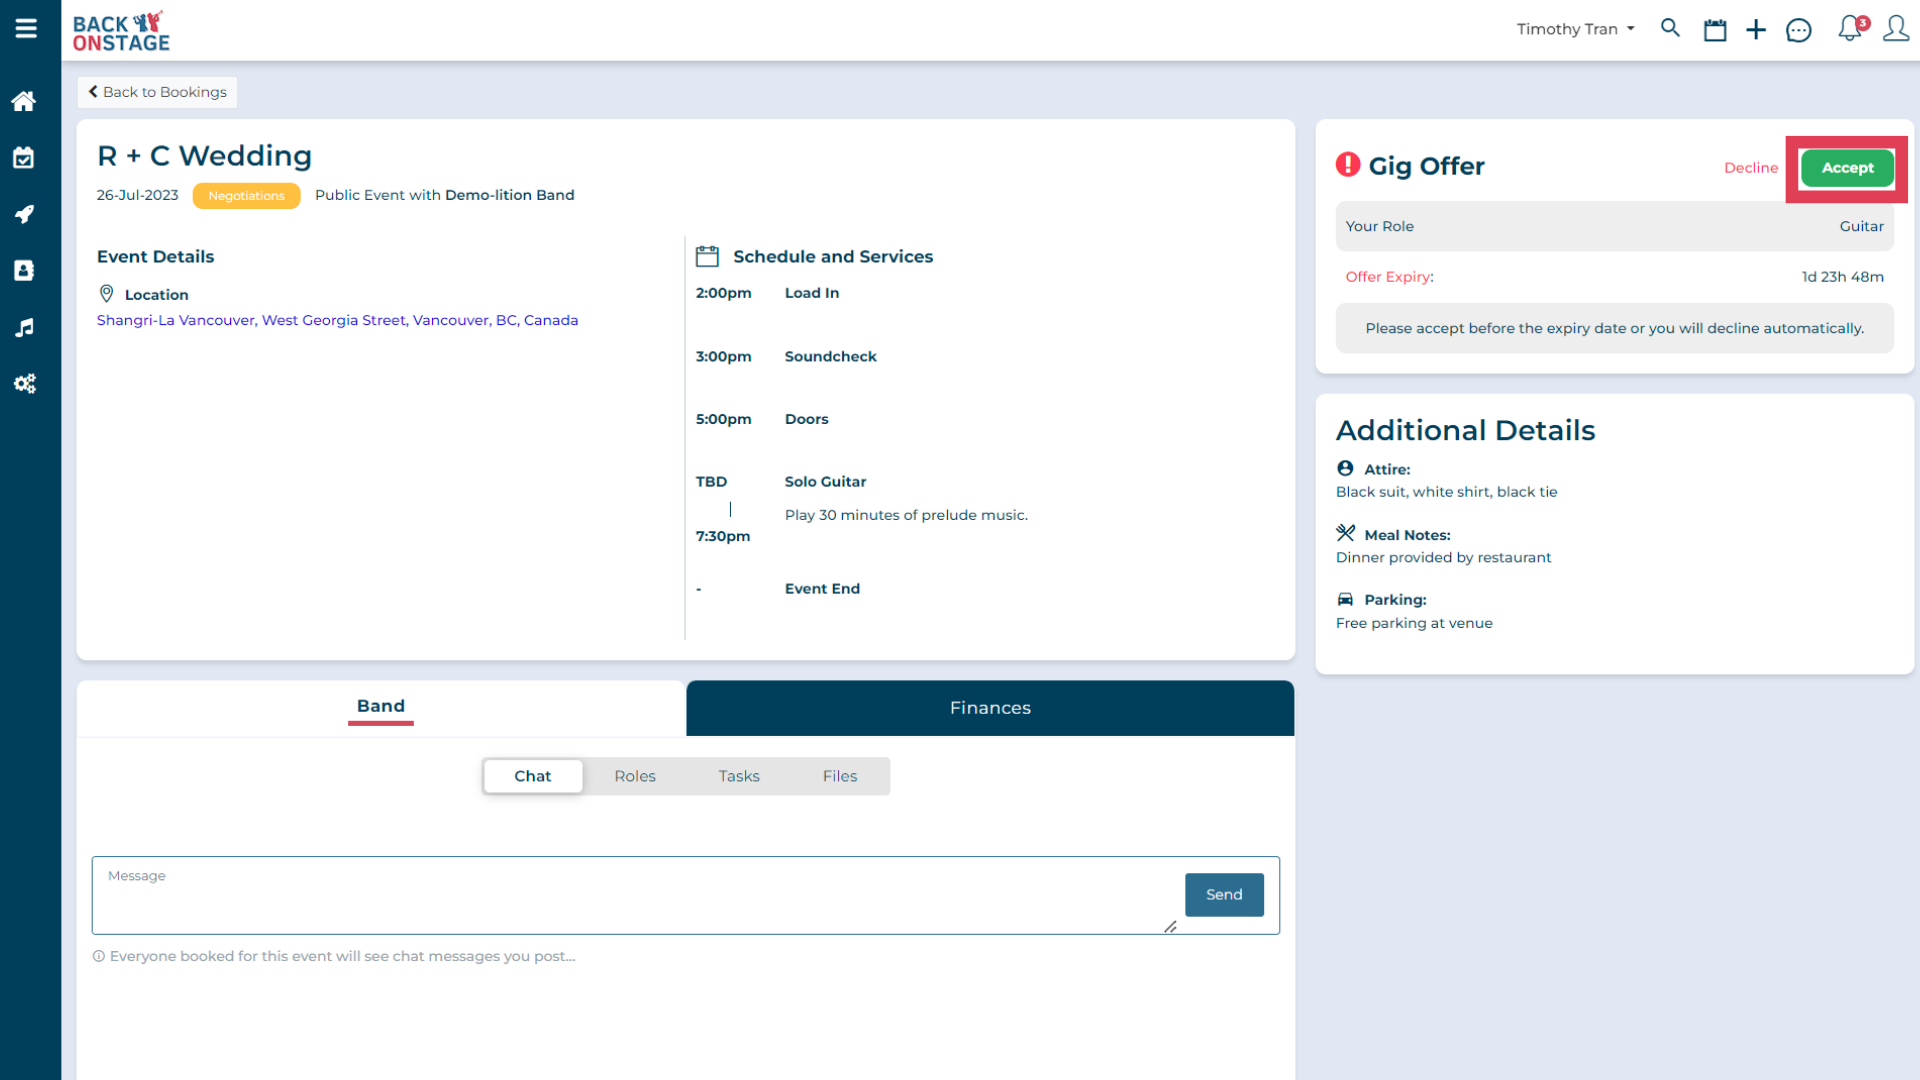
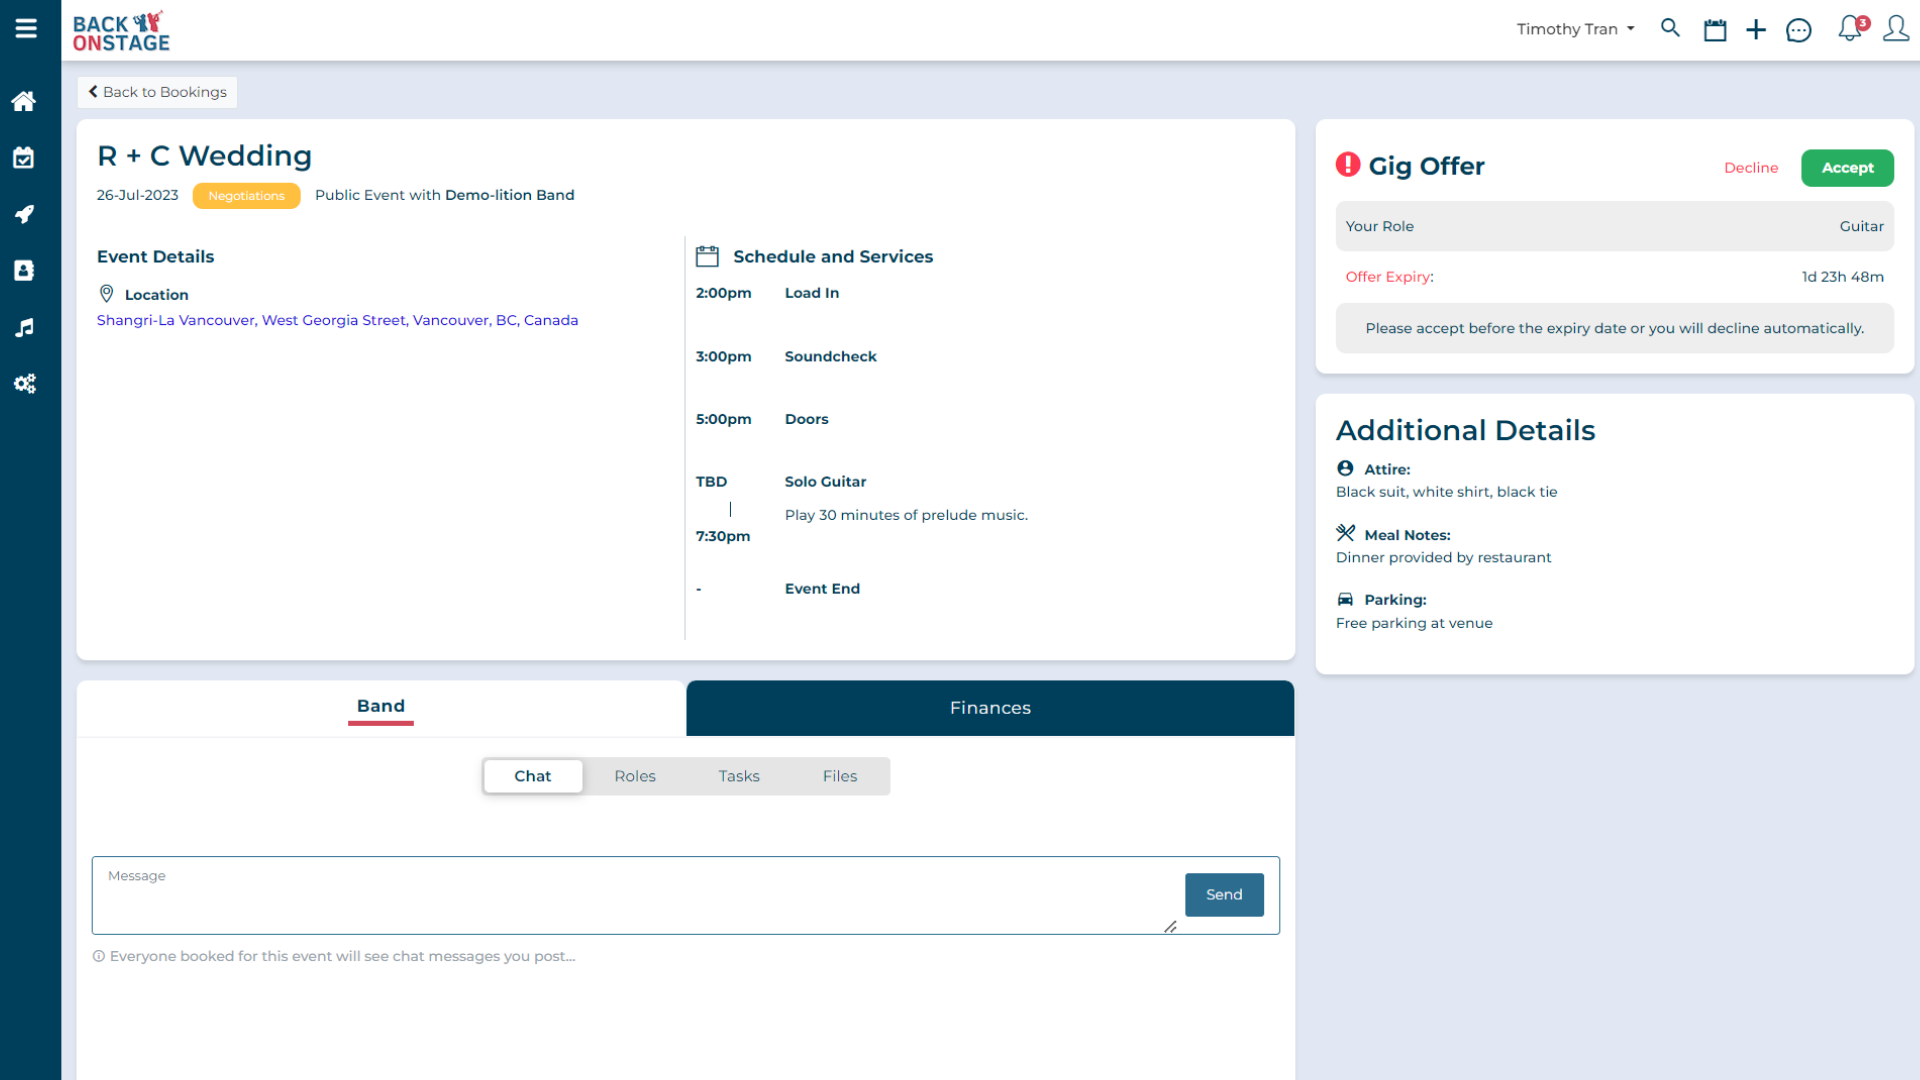
To accept gigs, click on the "Respond Now" link in the email offer from your bandleader. This will bring you to the booking details page where you can accept or decline the gig.
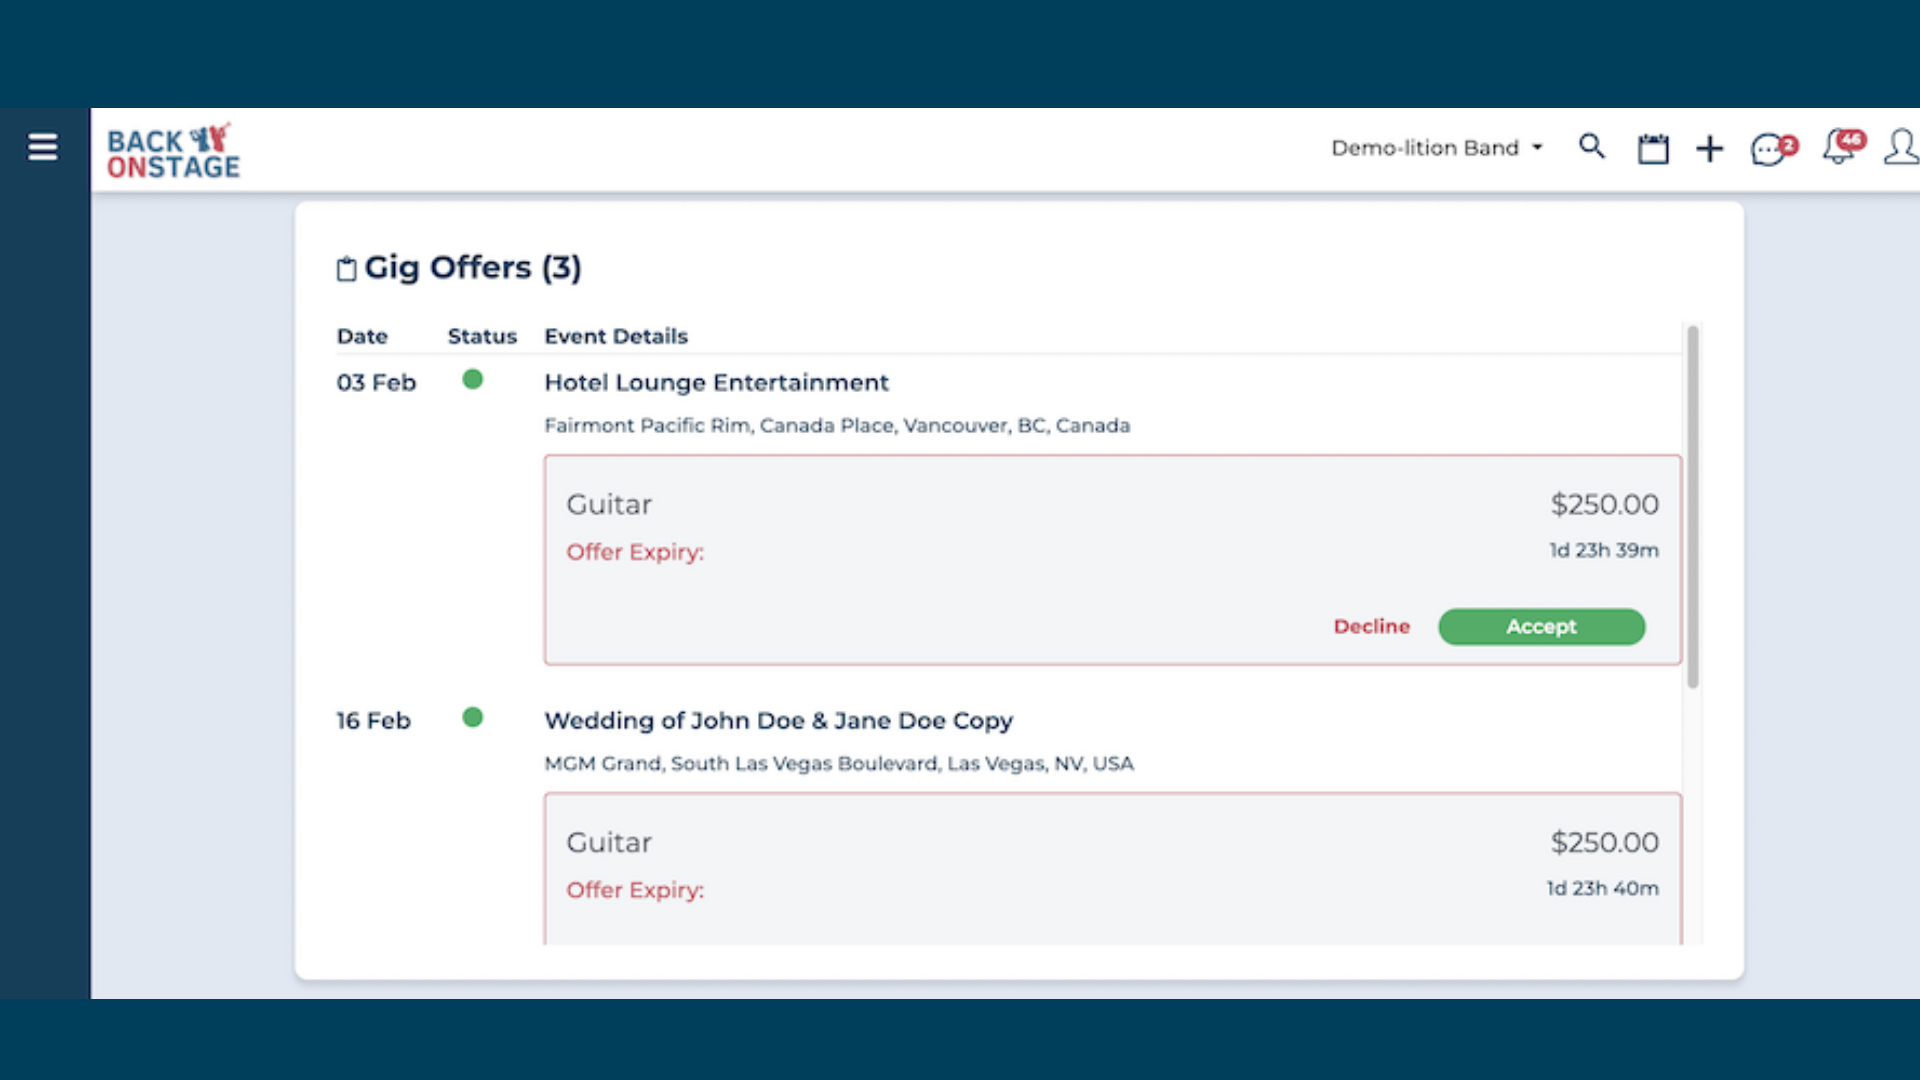
Pending gig offers also show up on your dashboard (click the home icon), so you can easily scroll down to the list to accept or decline them, all in one place.
Booking Page
Some additional benefits can be found on the booking page, such as:
- Event Title and date details on the top of the booking page
- Clickable Location link to a Google address
- Schedule and Additional Details in the corner that can include Attire and Meal Notes
- Below there's the Band Tab with a Chat area where you can post messages to all members who are actually booked for the gig
- Roles area which shows all members and instruments that are booked for the gig
- Tasks area where you can manage your own task lists
- Files tab which serves as a dropbox where you and your leader can drop off documents that need to be shared for the event
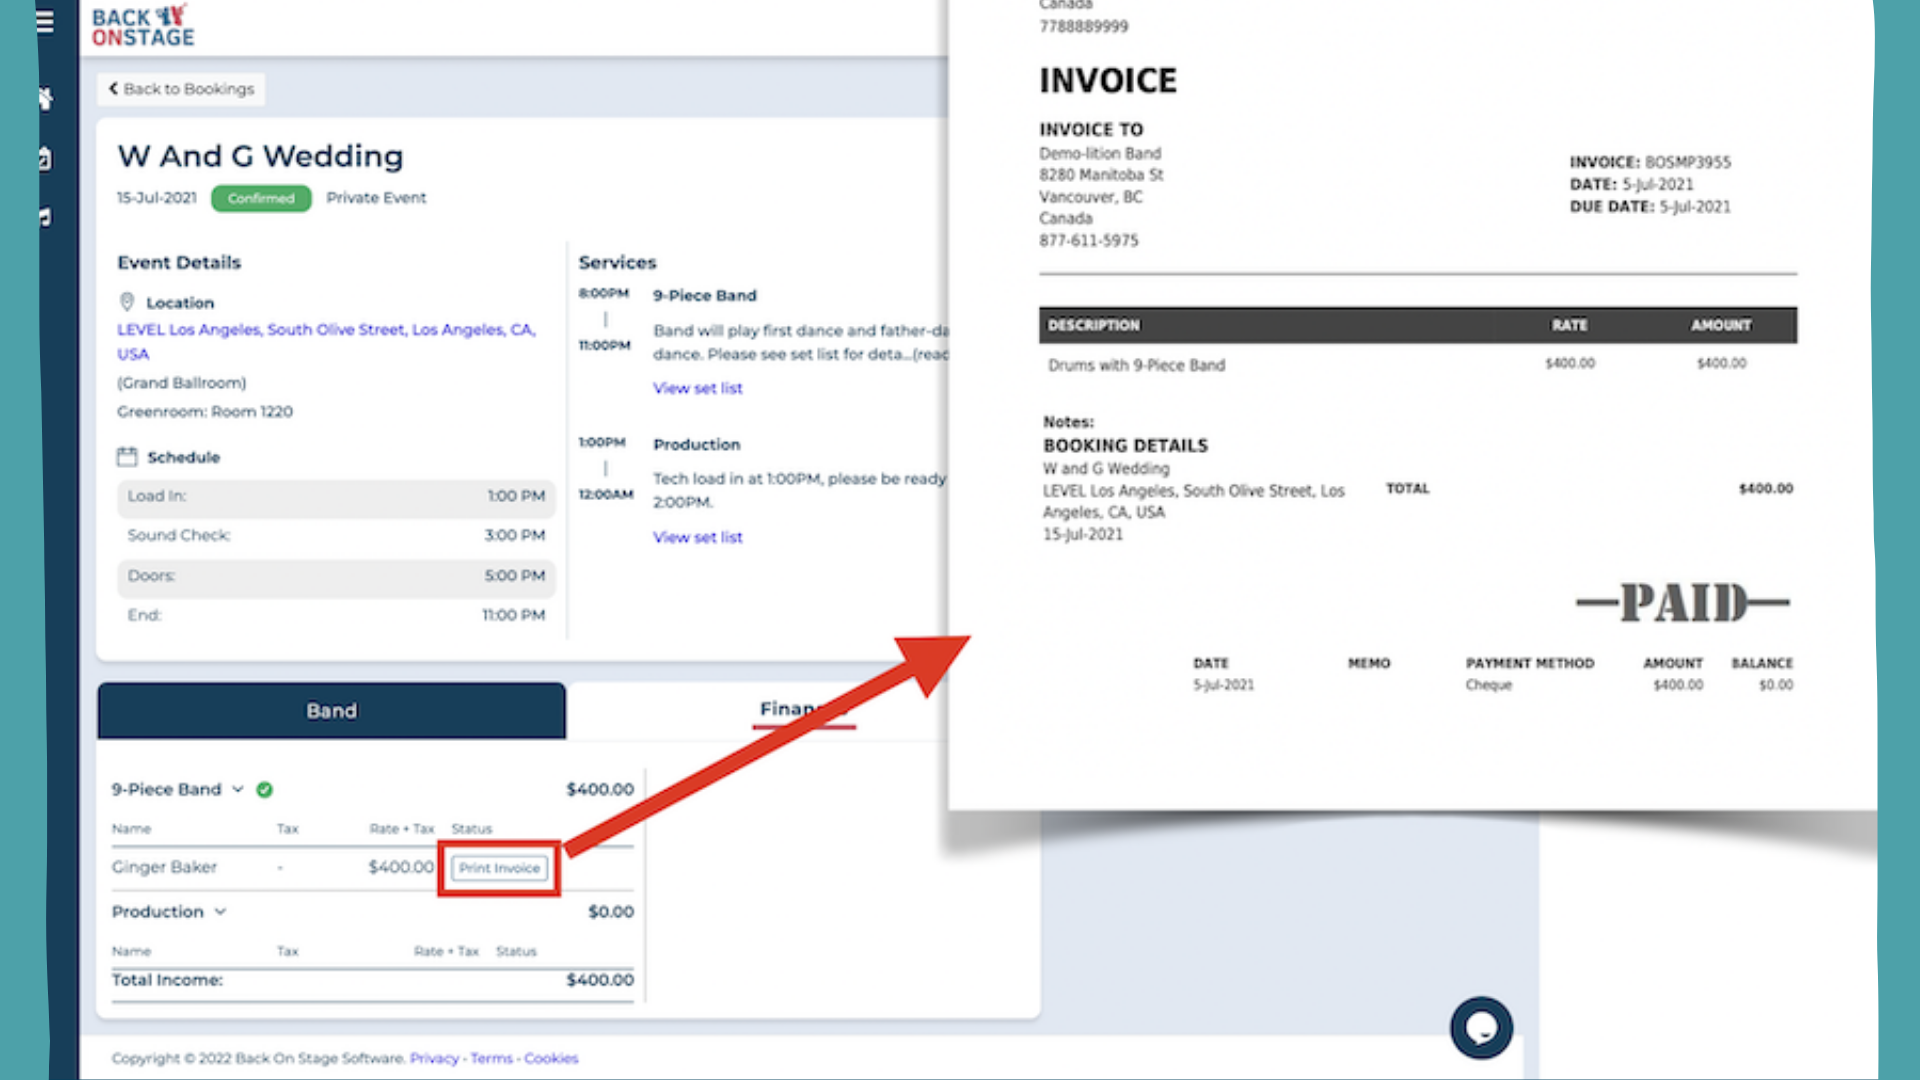
When your bandleader pays you out, you can click on the Files tab and you can see a "Print Invoice" button where you can access the invoice that's been generated automatically by Back On Stage on your behalf.
All the information such as booking details and payment time is included in the invoice to provide a clear paper trail.
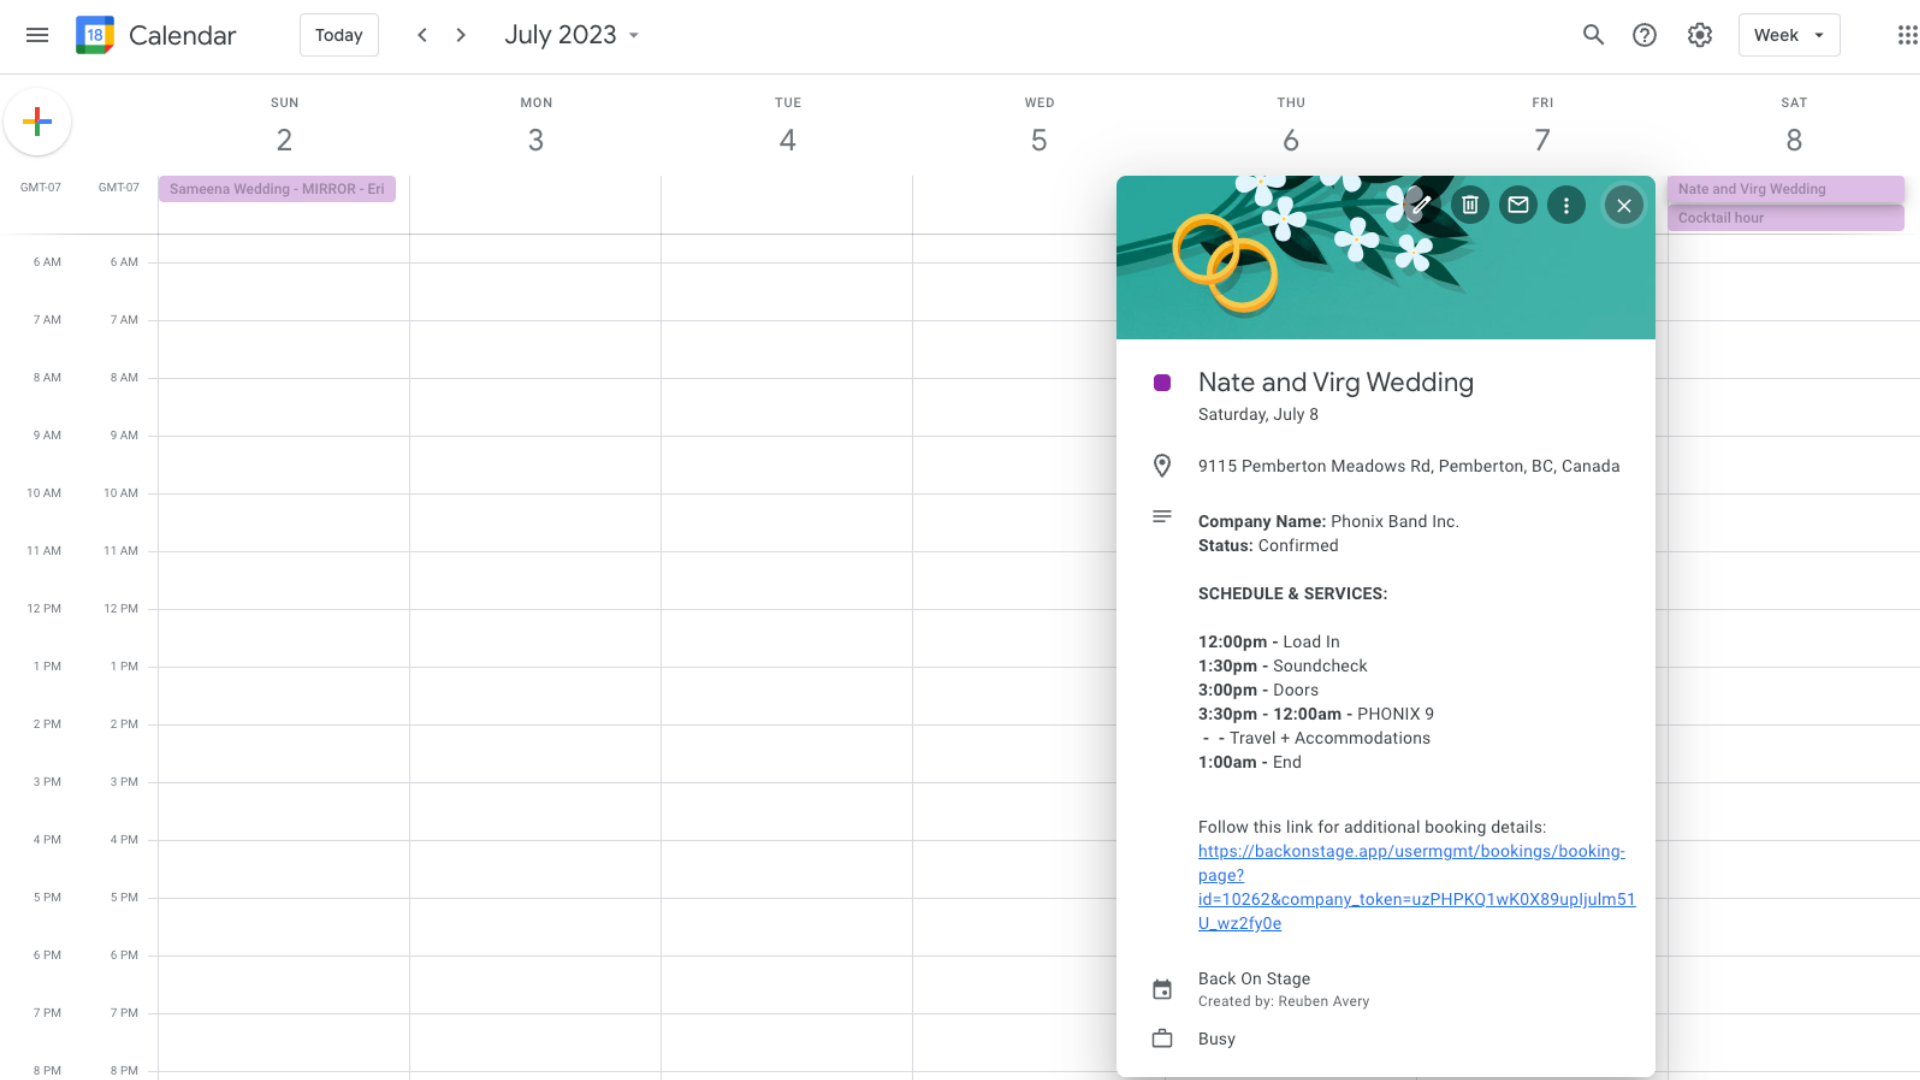
Sync Your Gigs To Google Calendar
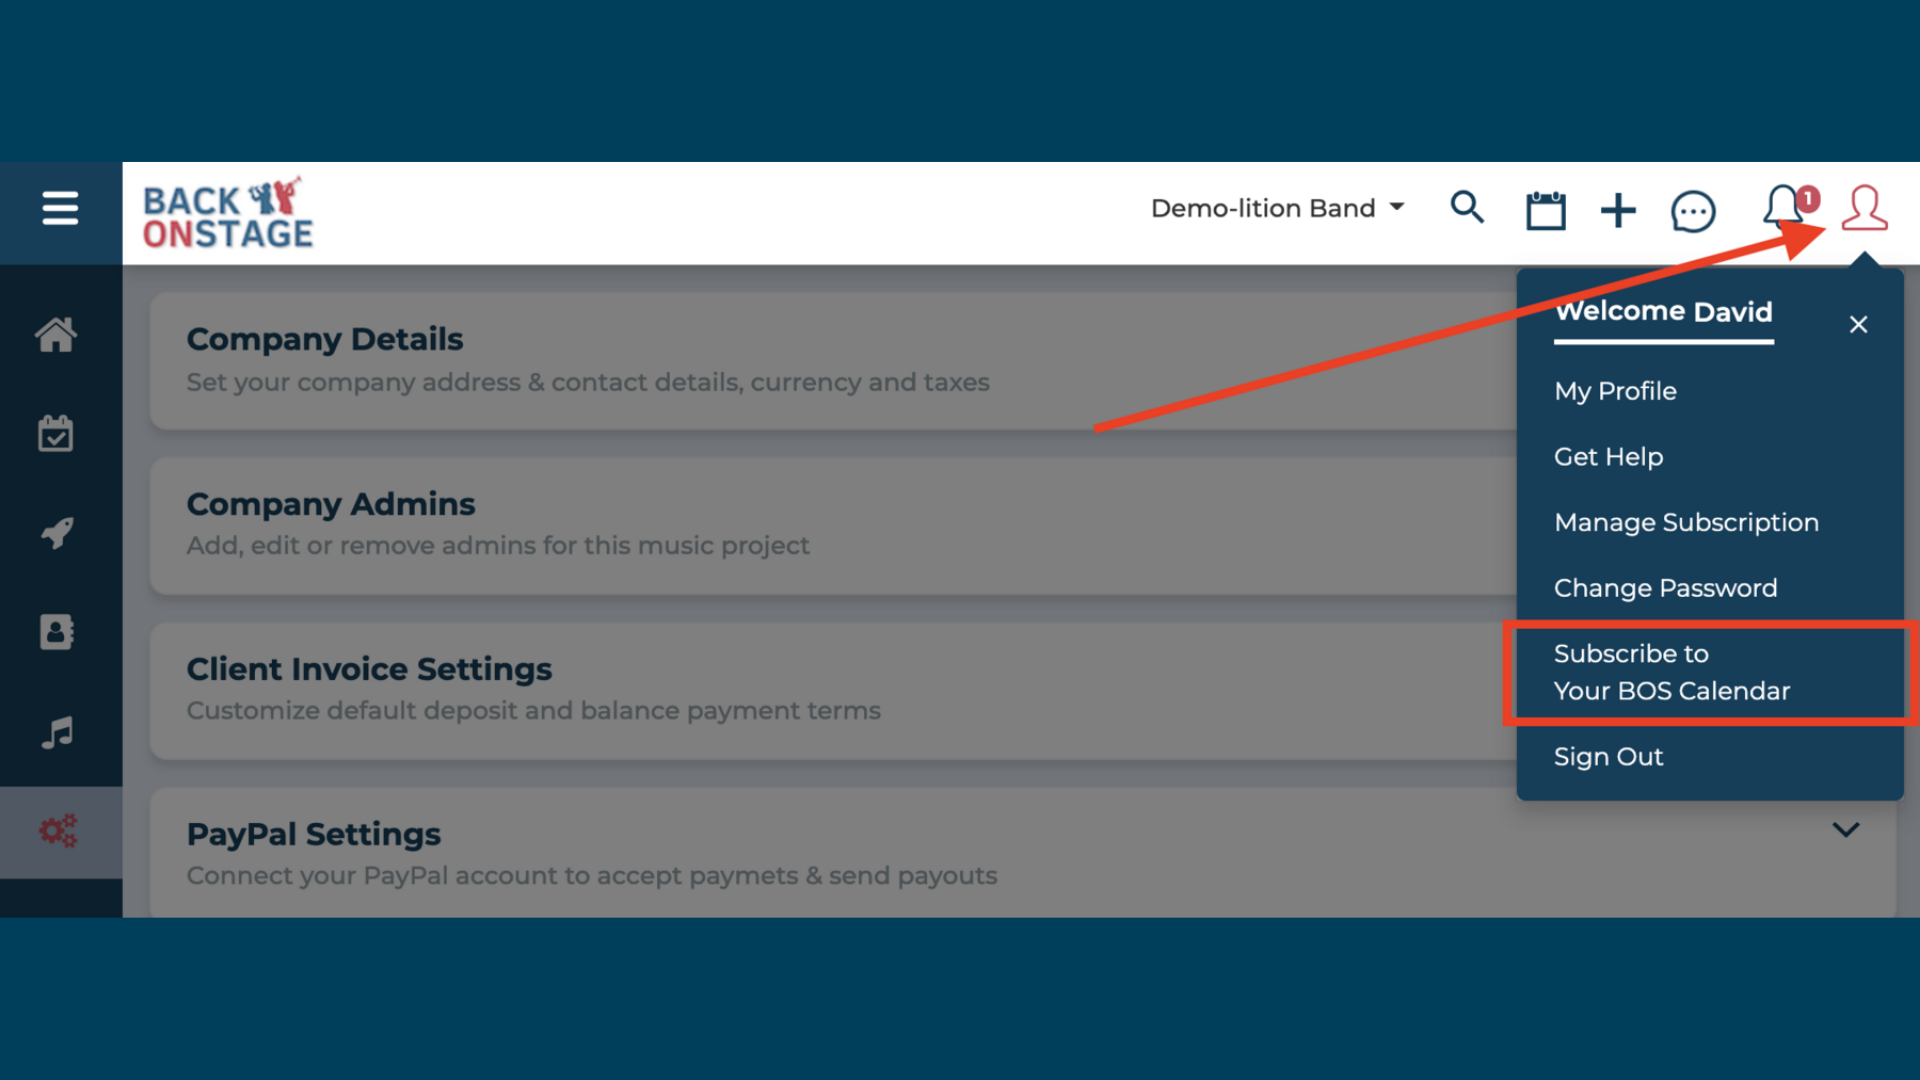
You can sync all bookings to your Google Calendar by clicking on the profile icon and selecting "Subscribe to My POS Calendar". Follow the prompts to allow Back On Stage the necessary permissions to your Google account so that it can create bookings in your calendar for you.
How To Use Set Lists
Finally, setlists are an incredibly powerful tool inside Back On Stage. To access them, go to the booking page under "Schedule and Services" and click on "View Setlist". From there, you can access all kinds of details about each song, including tempo, length, notes, reference recordings, and sheet music.

To access the setlist, go to the booking page and look under the schedule and services. Find the service that the setlist belongs to. If your band leader has prepared a setlist for the event, you'll see a "View Setlist" link. Click on it to open the setlist in performance mode.
Here, you can access details about each song, such as the artists, tempo, length, notes, reference recordings, and sheet music. If you're signed in as a musician, you can access your part by clicking on the sheet music.

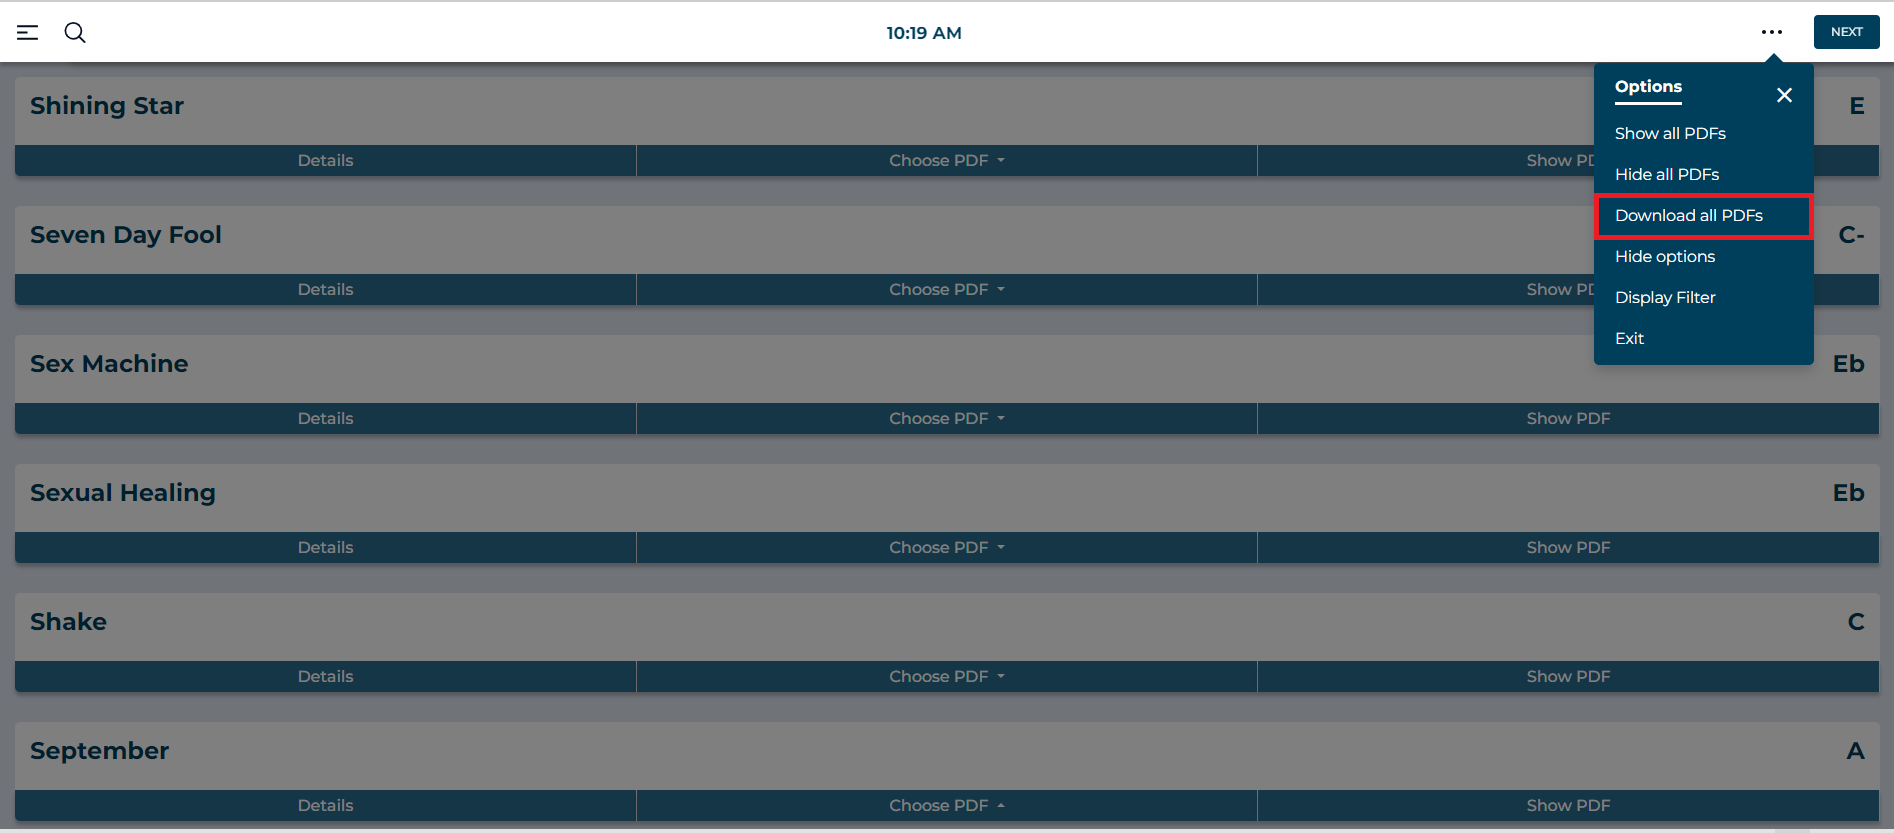
Download All PDFs
If you prefer using another setlist app, you can click on the three dots and select "Download all PDFs" to extract all the sheet music as a single zip file. Note that the order of the songs will not be preserved in the downloaded zip file - so you’ll still have to refer to the set list to put them in order.
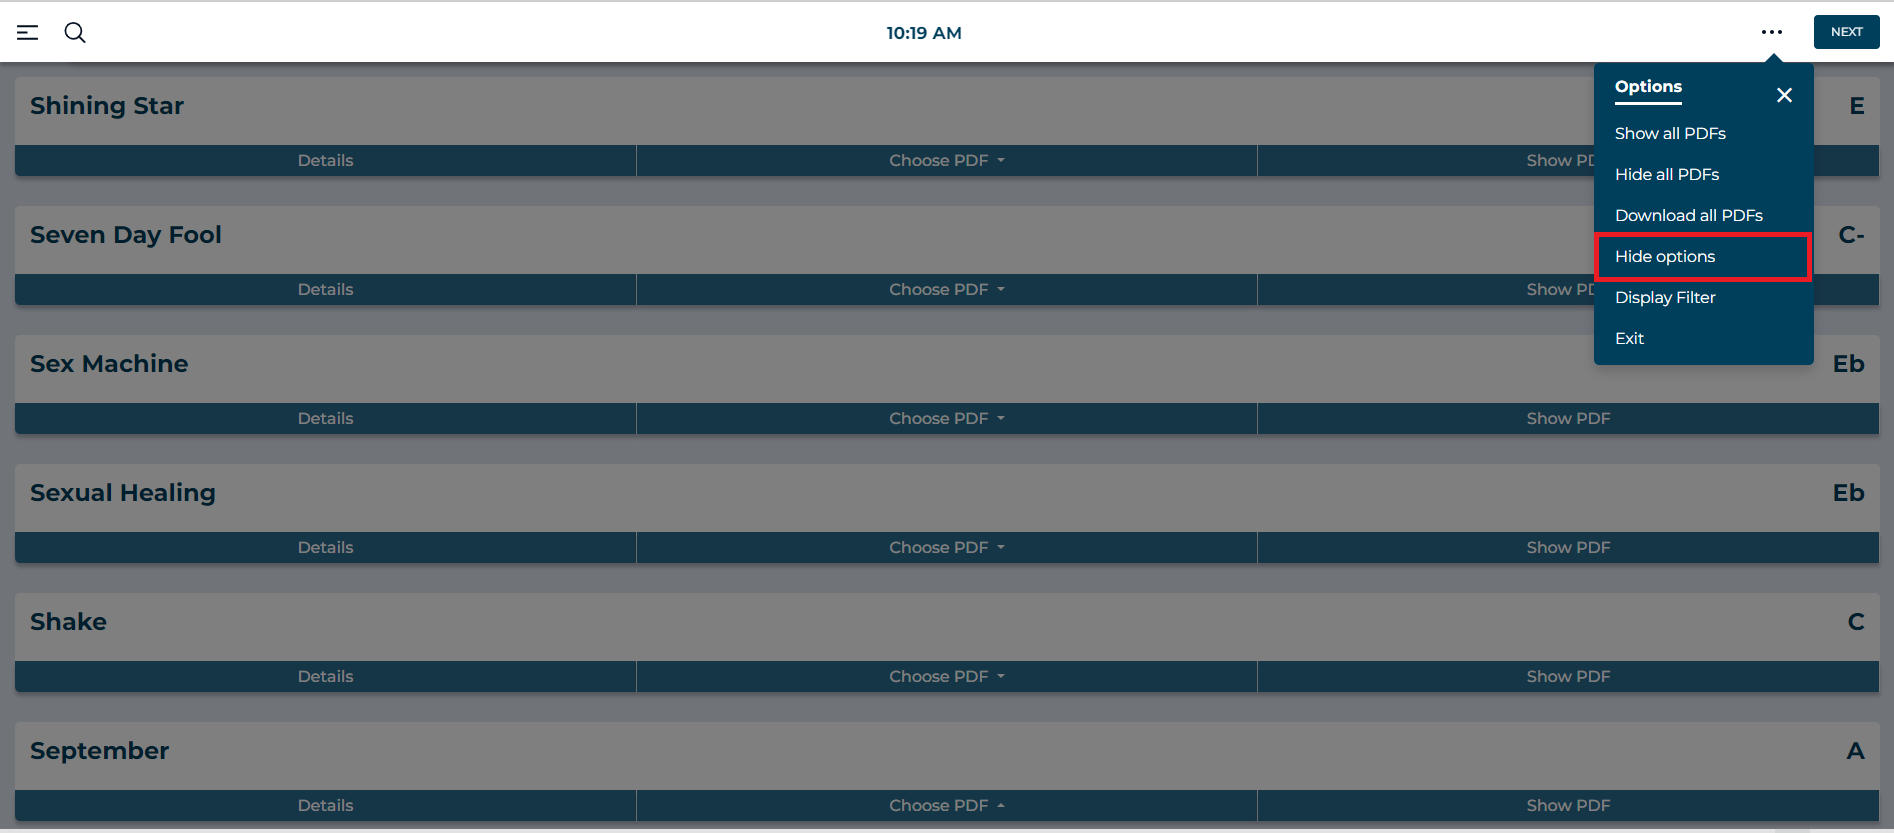
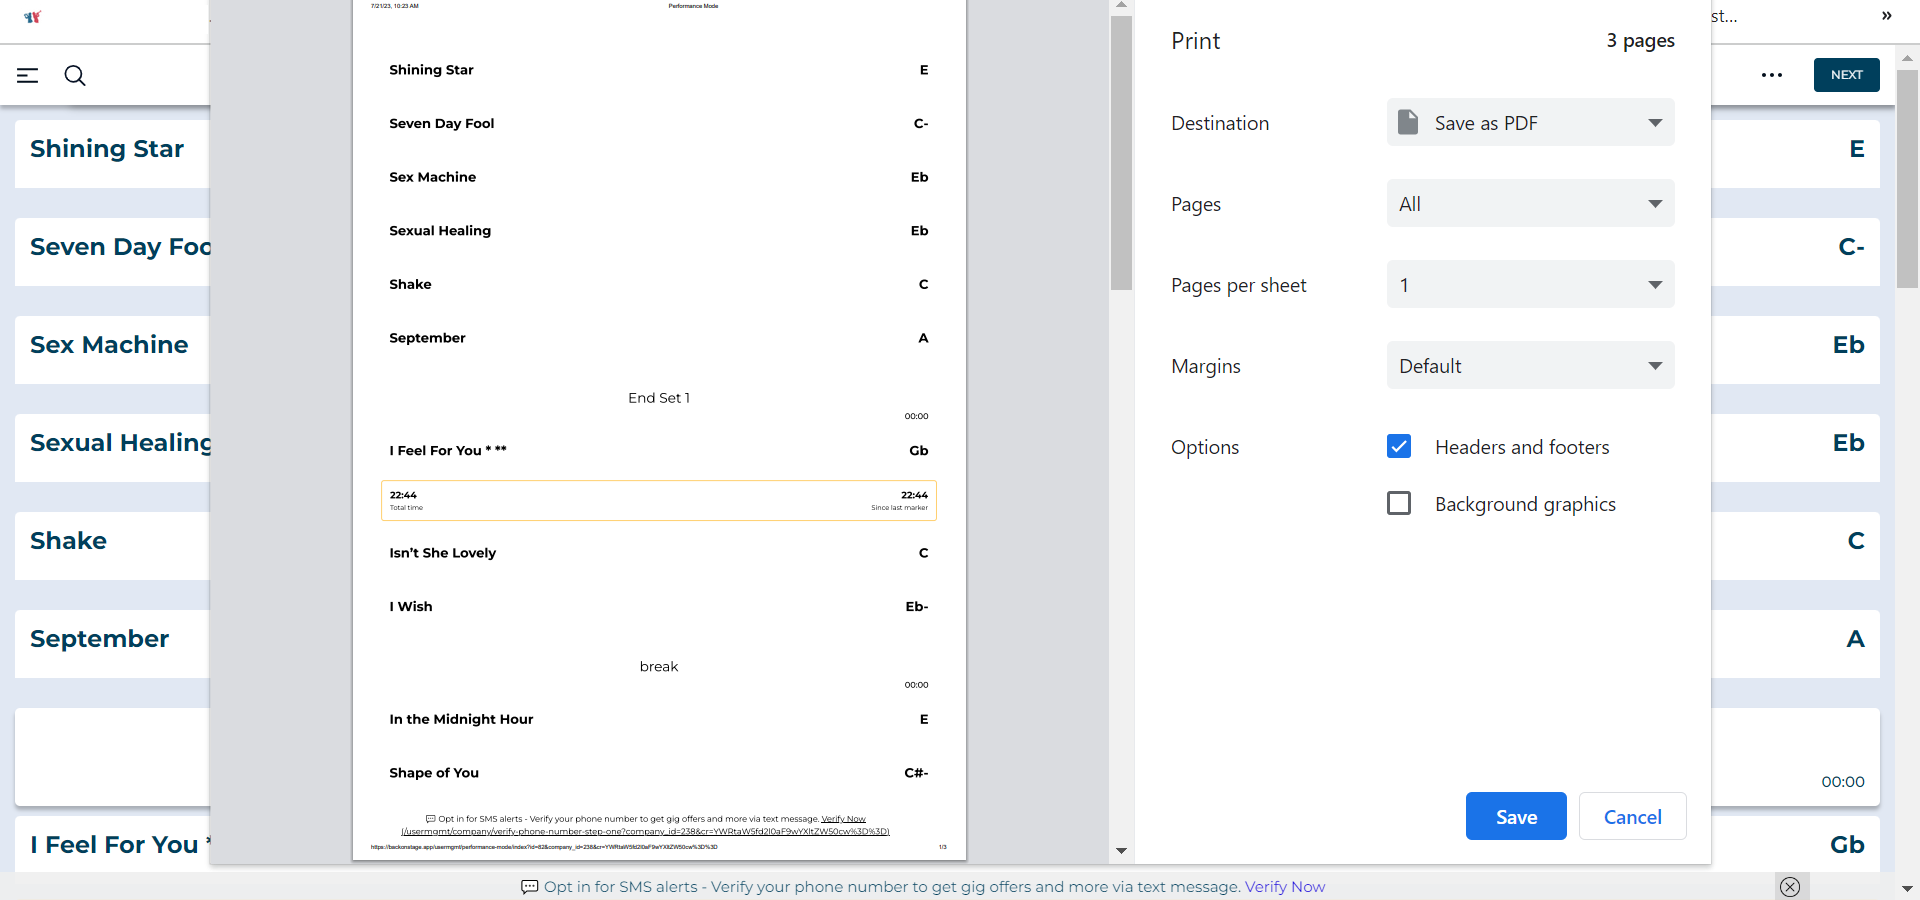
Printing a Set List
If you’d like to print the set list in hardcopy format, just click the three dots icon and choose “Hide options” to remove the blue buttons from the setlist, then click “File > Print” from your web browser.
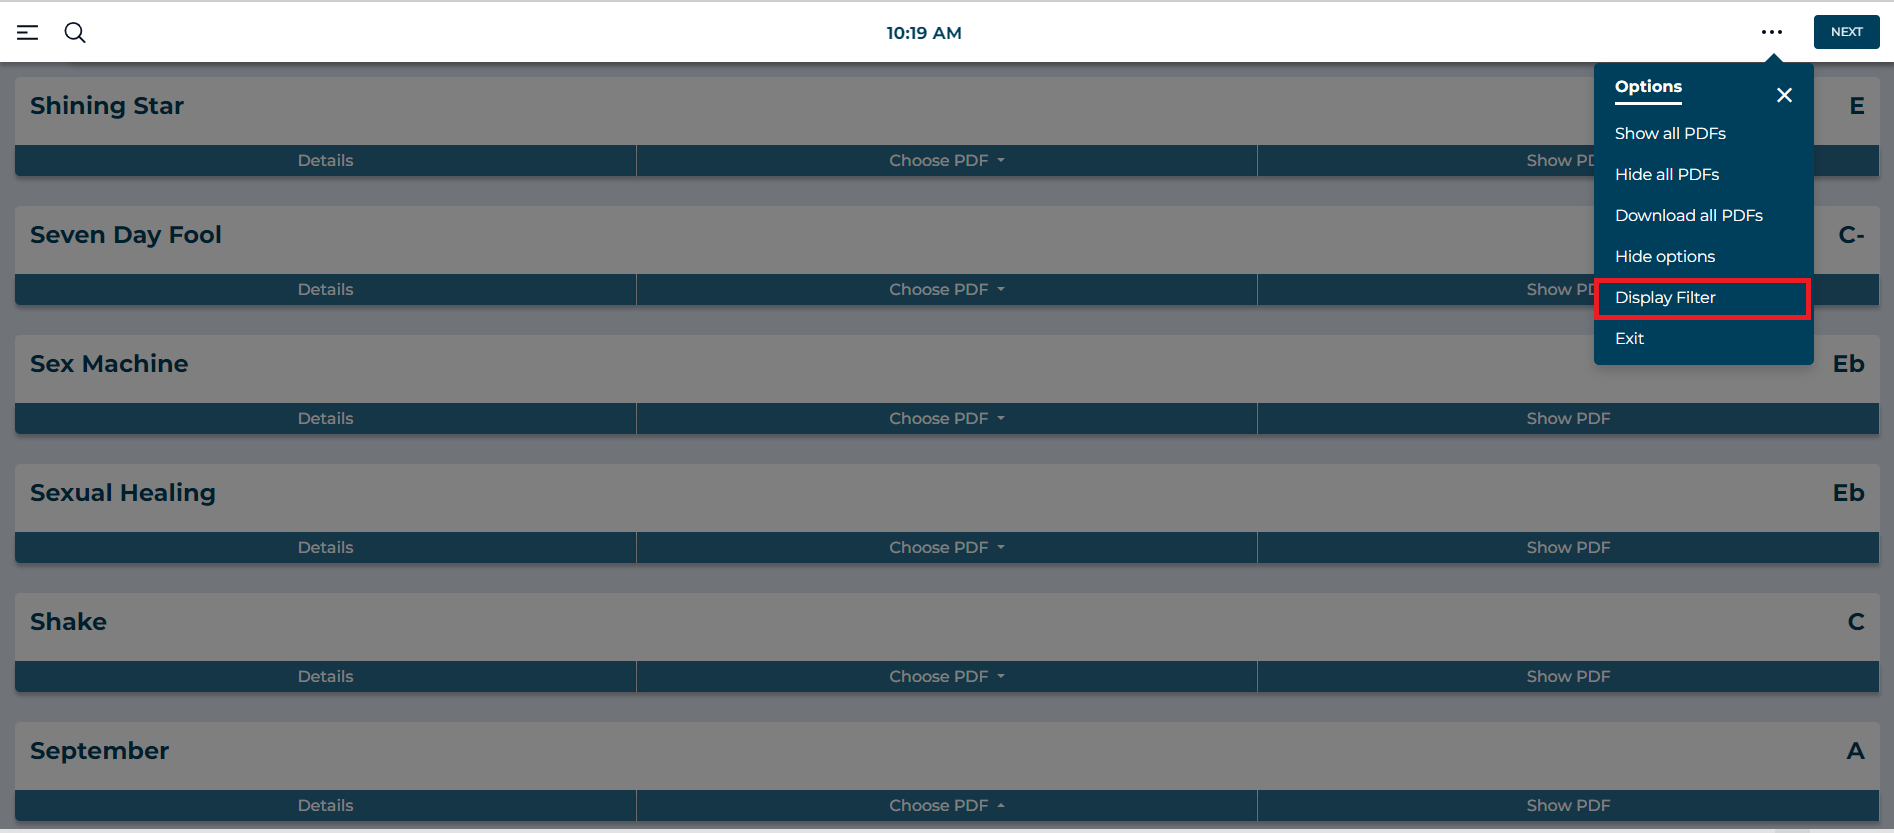
Set List View Options
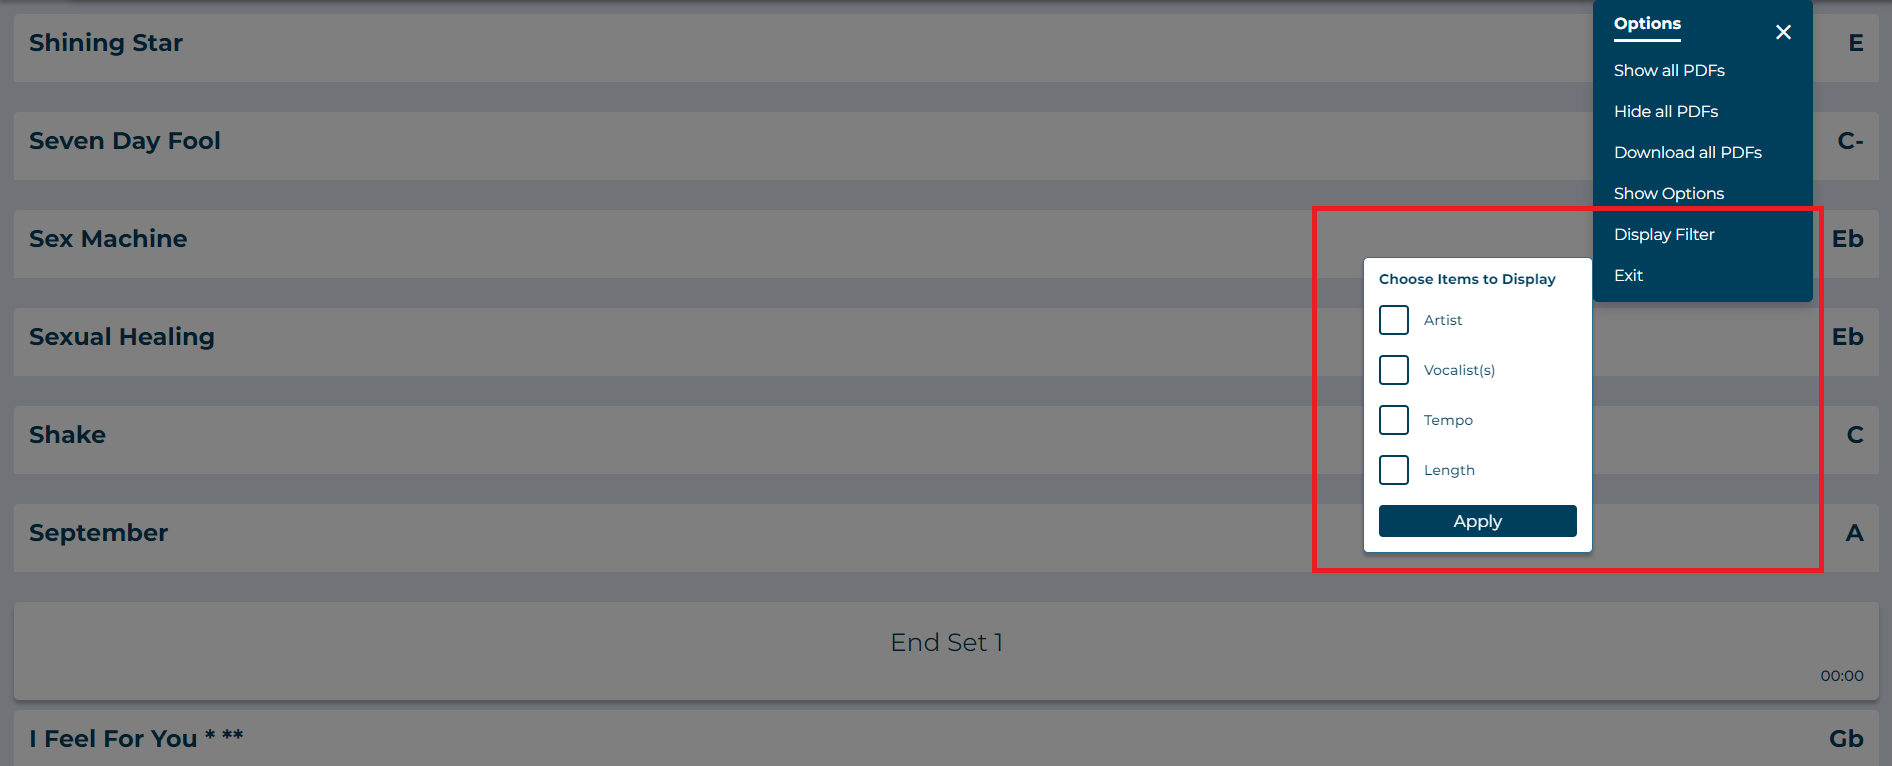
Vocalists can see which songs have been assigned to them by selecting the "Vocalist(s)” options in the “Display Filters” menu and apply. This will show you the songs assigned to you by the bandleader. (Only applicable if your leader has used the “Assign Vocalists” feature when they built the set list.)
You can also choose to display other data on your set list, like original artist name, tempo, and length (song duration time).
We hope you found this walkthrough helpful! If you need a hand to get set up, just click on the chat icon in the app to connect with our friendly support team.